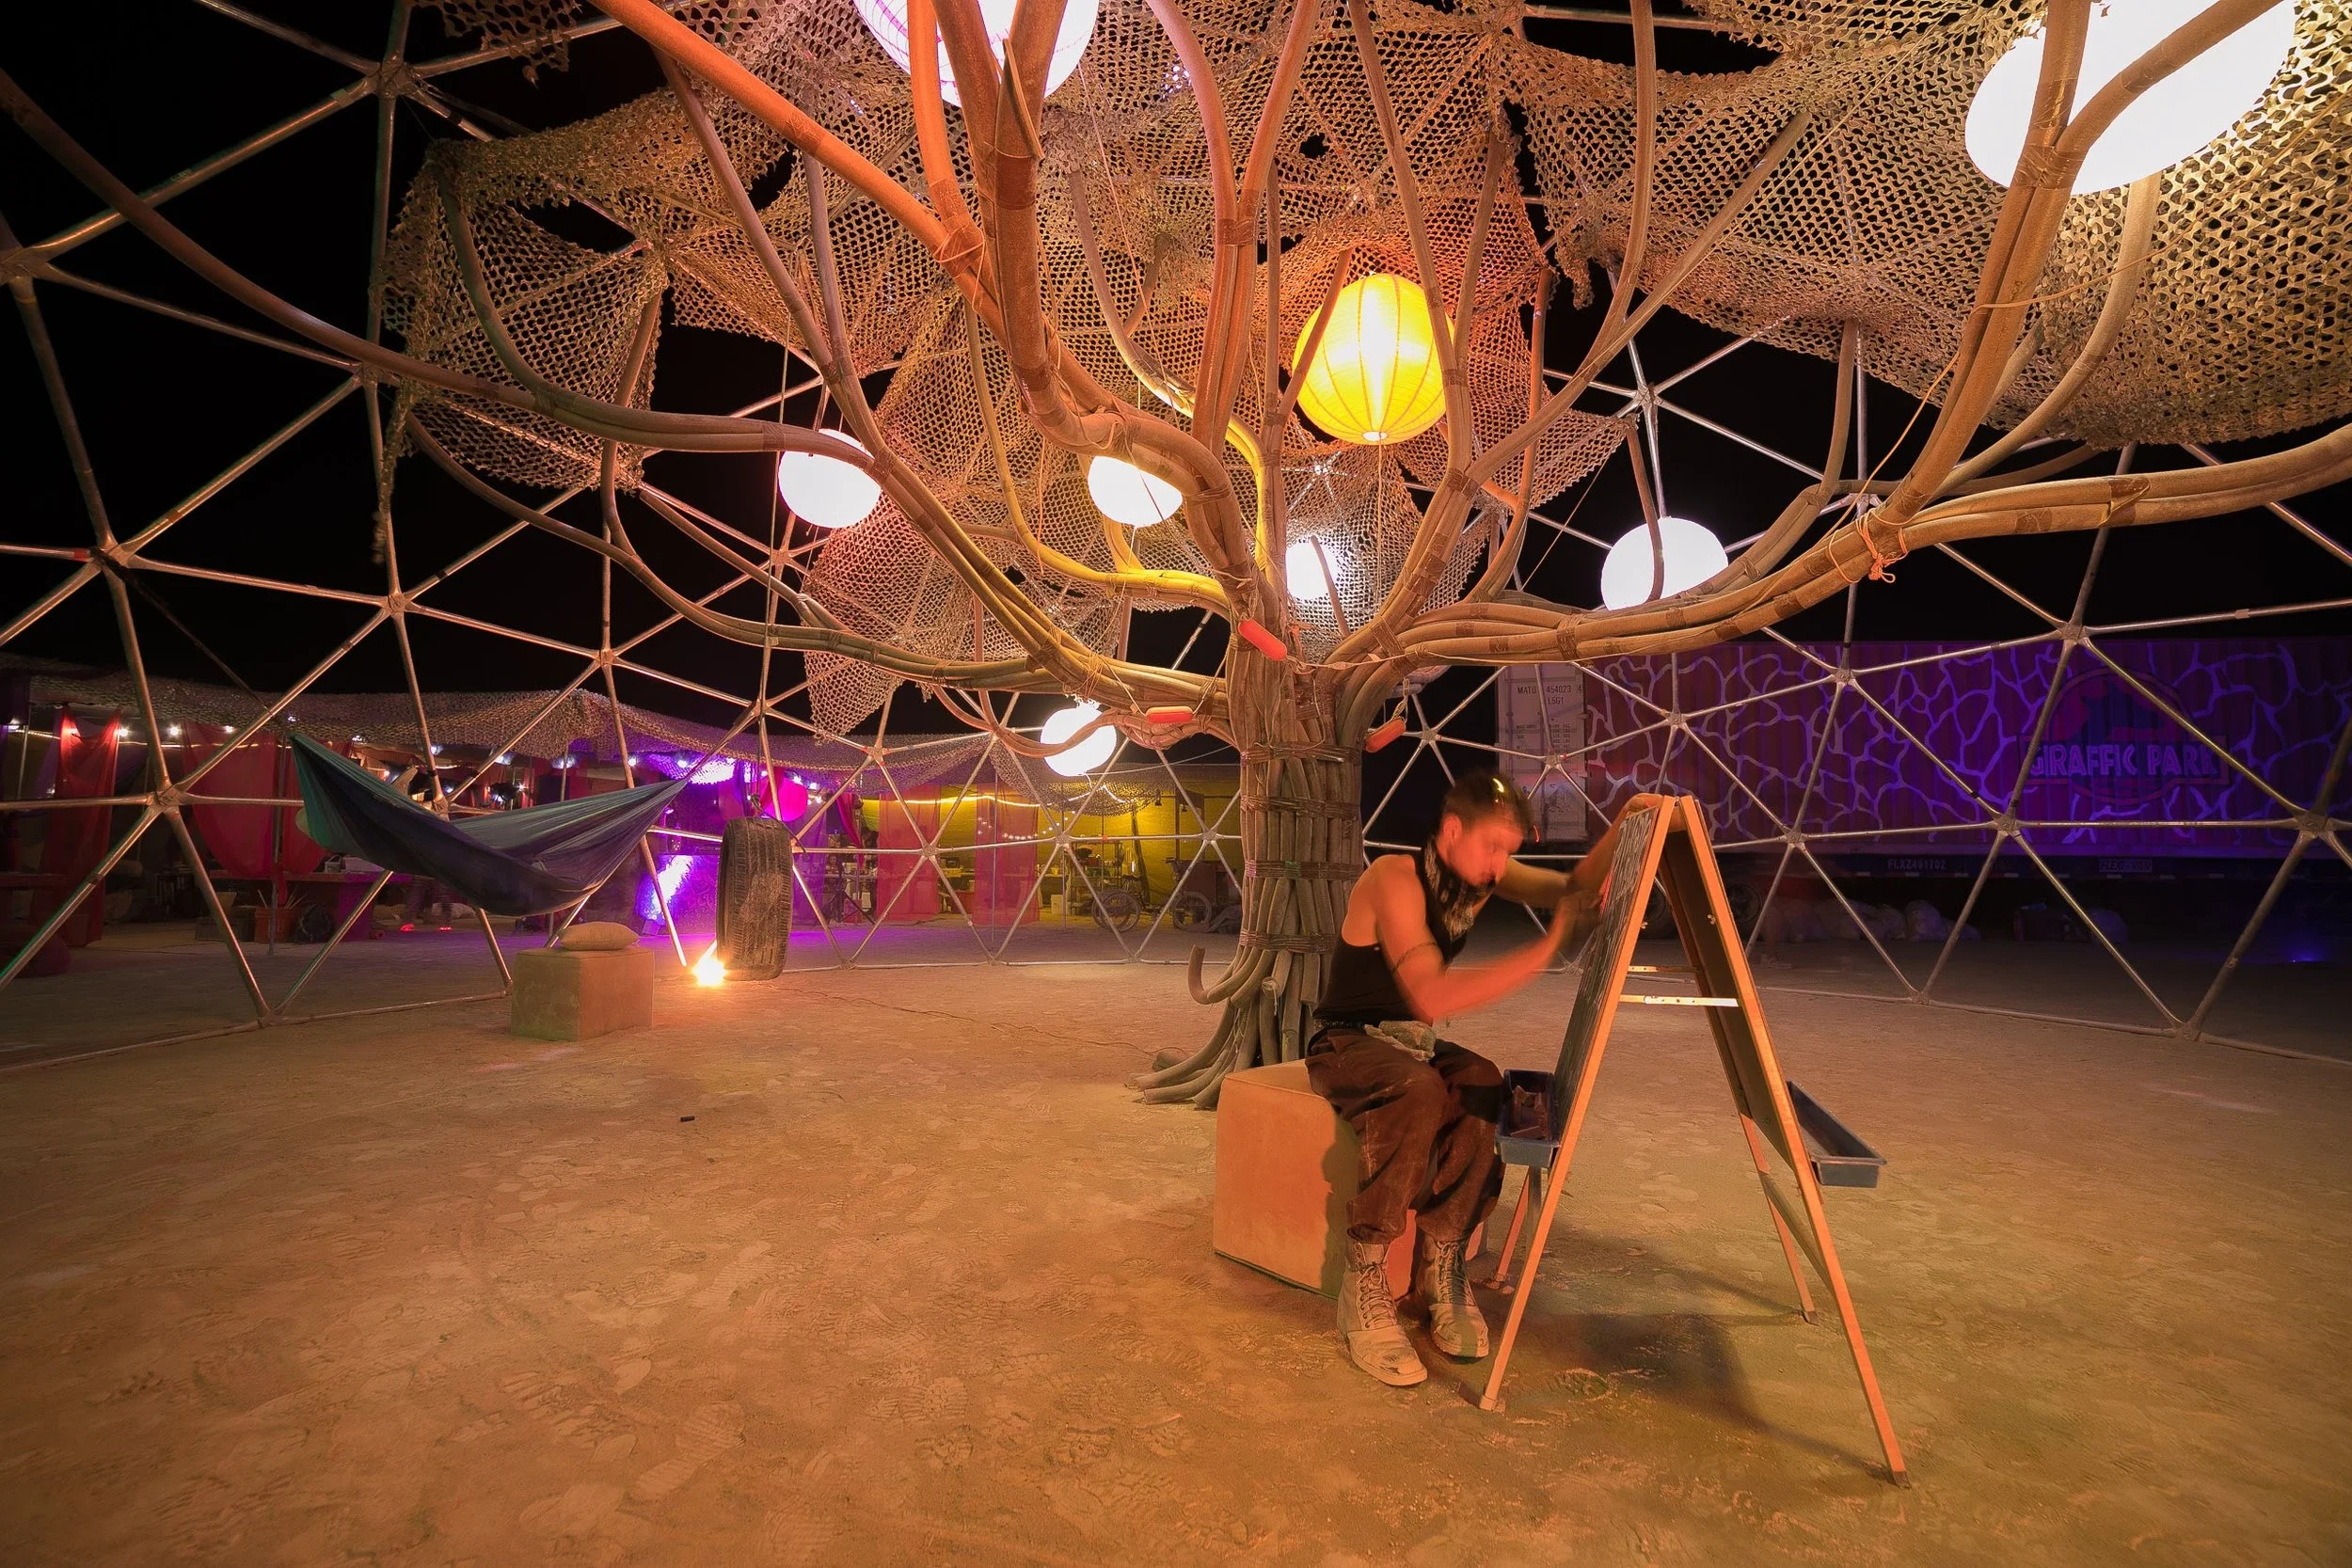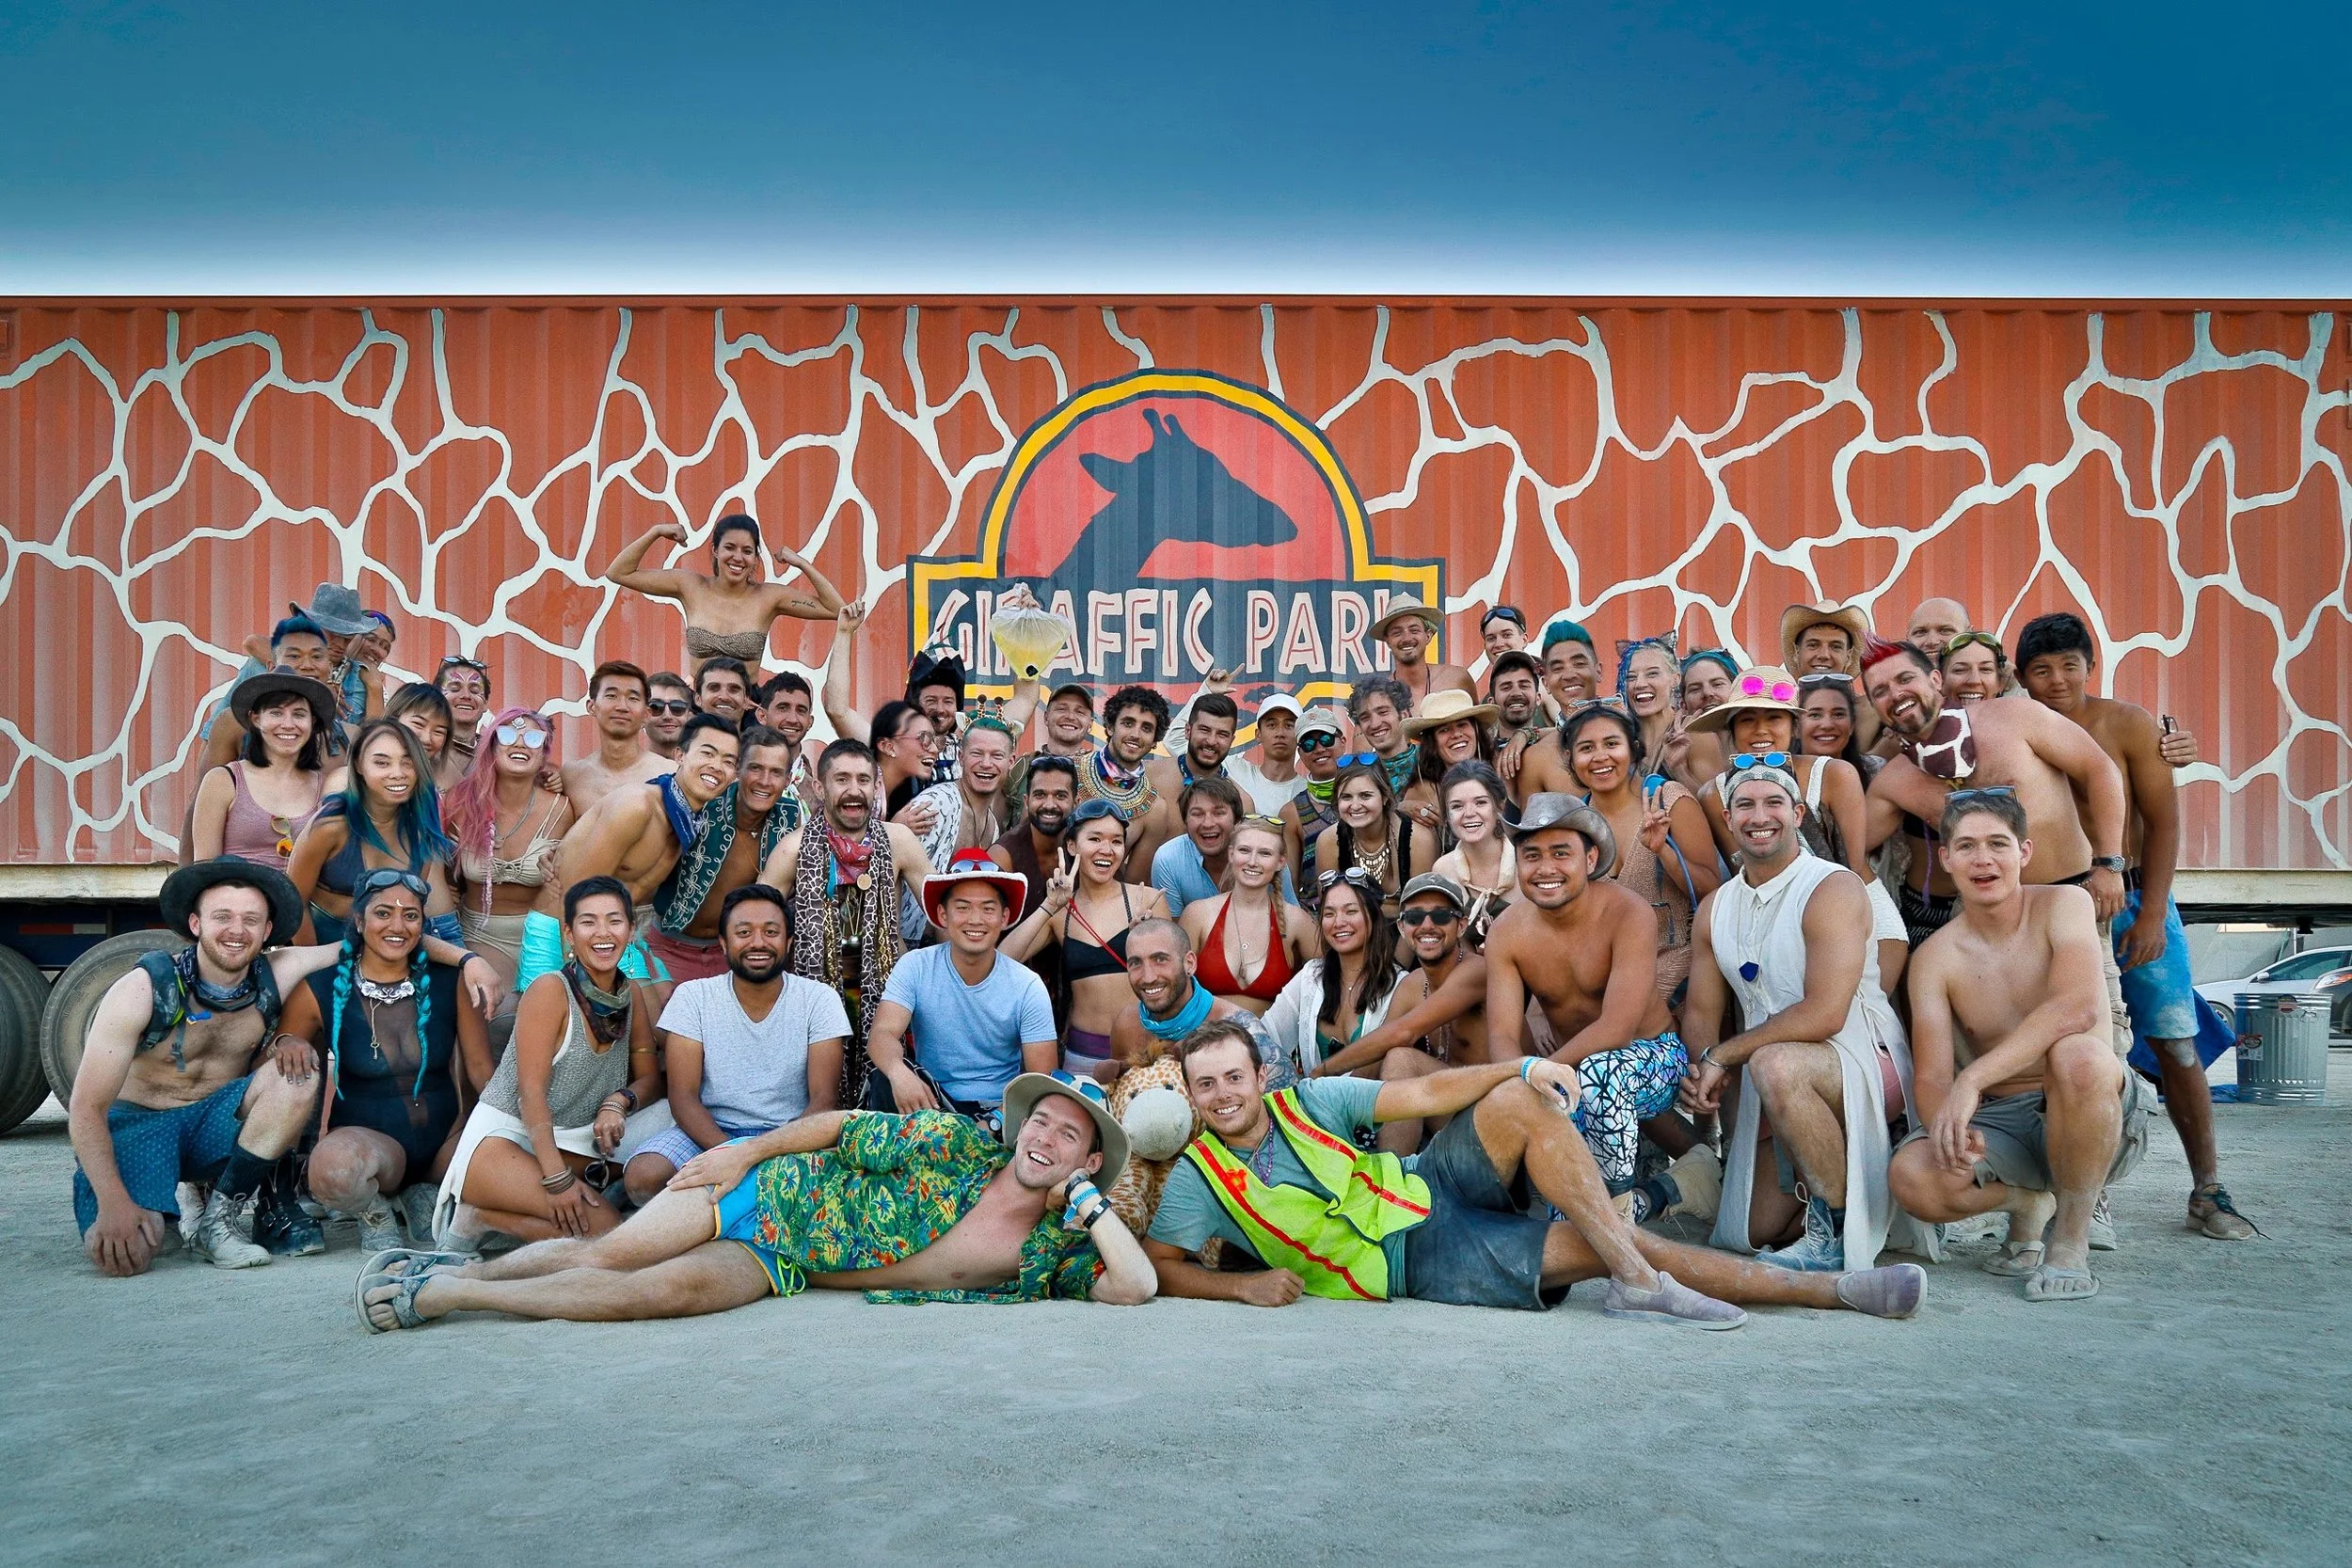
Camp members in 2017
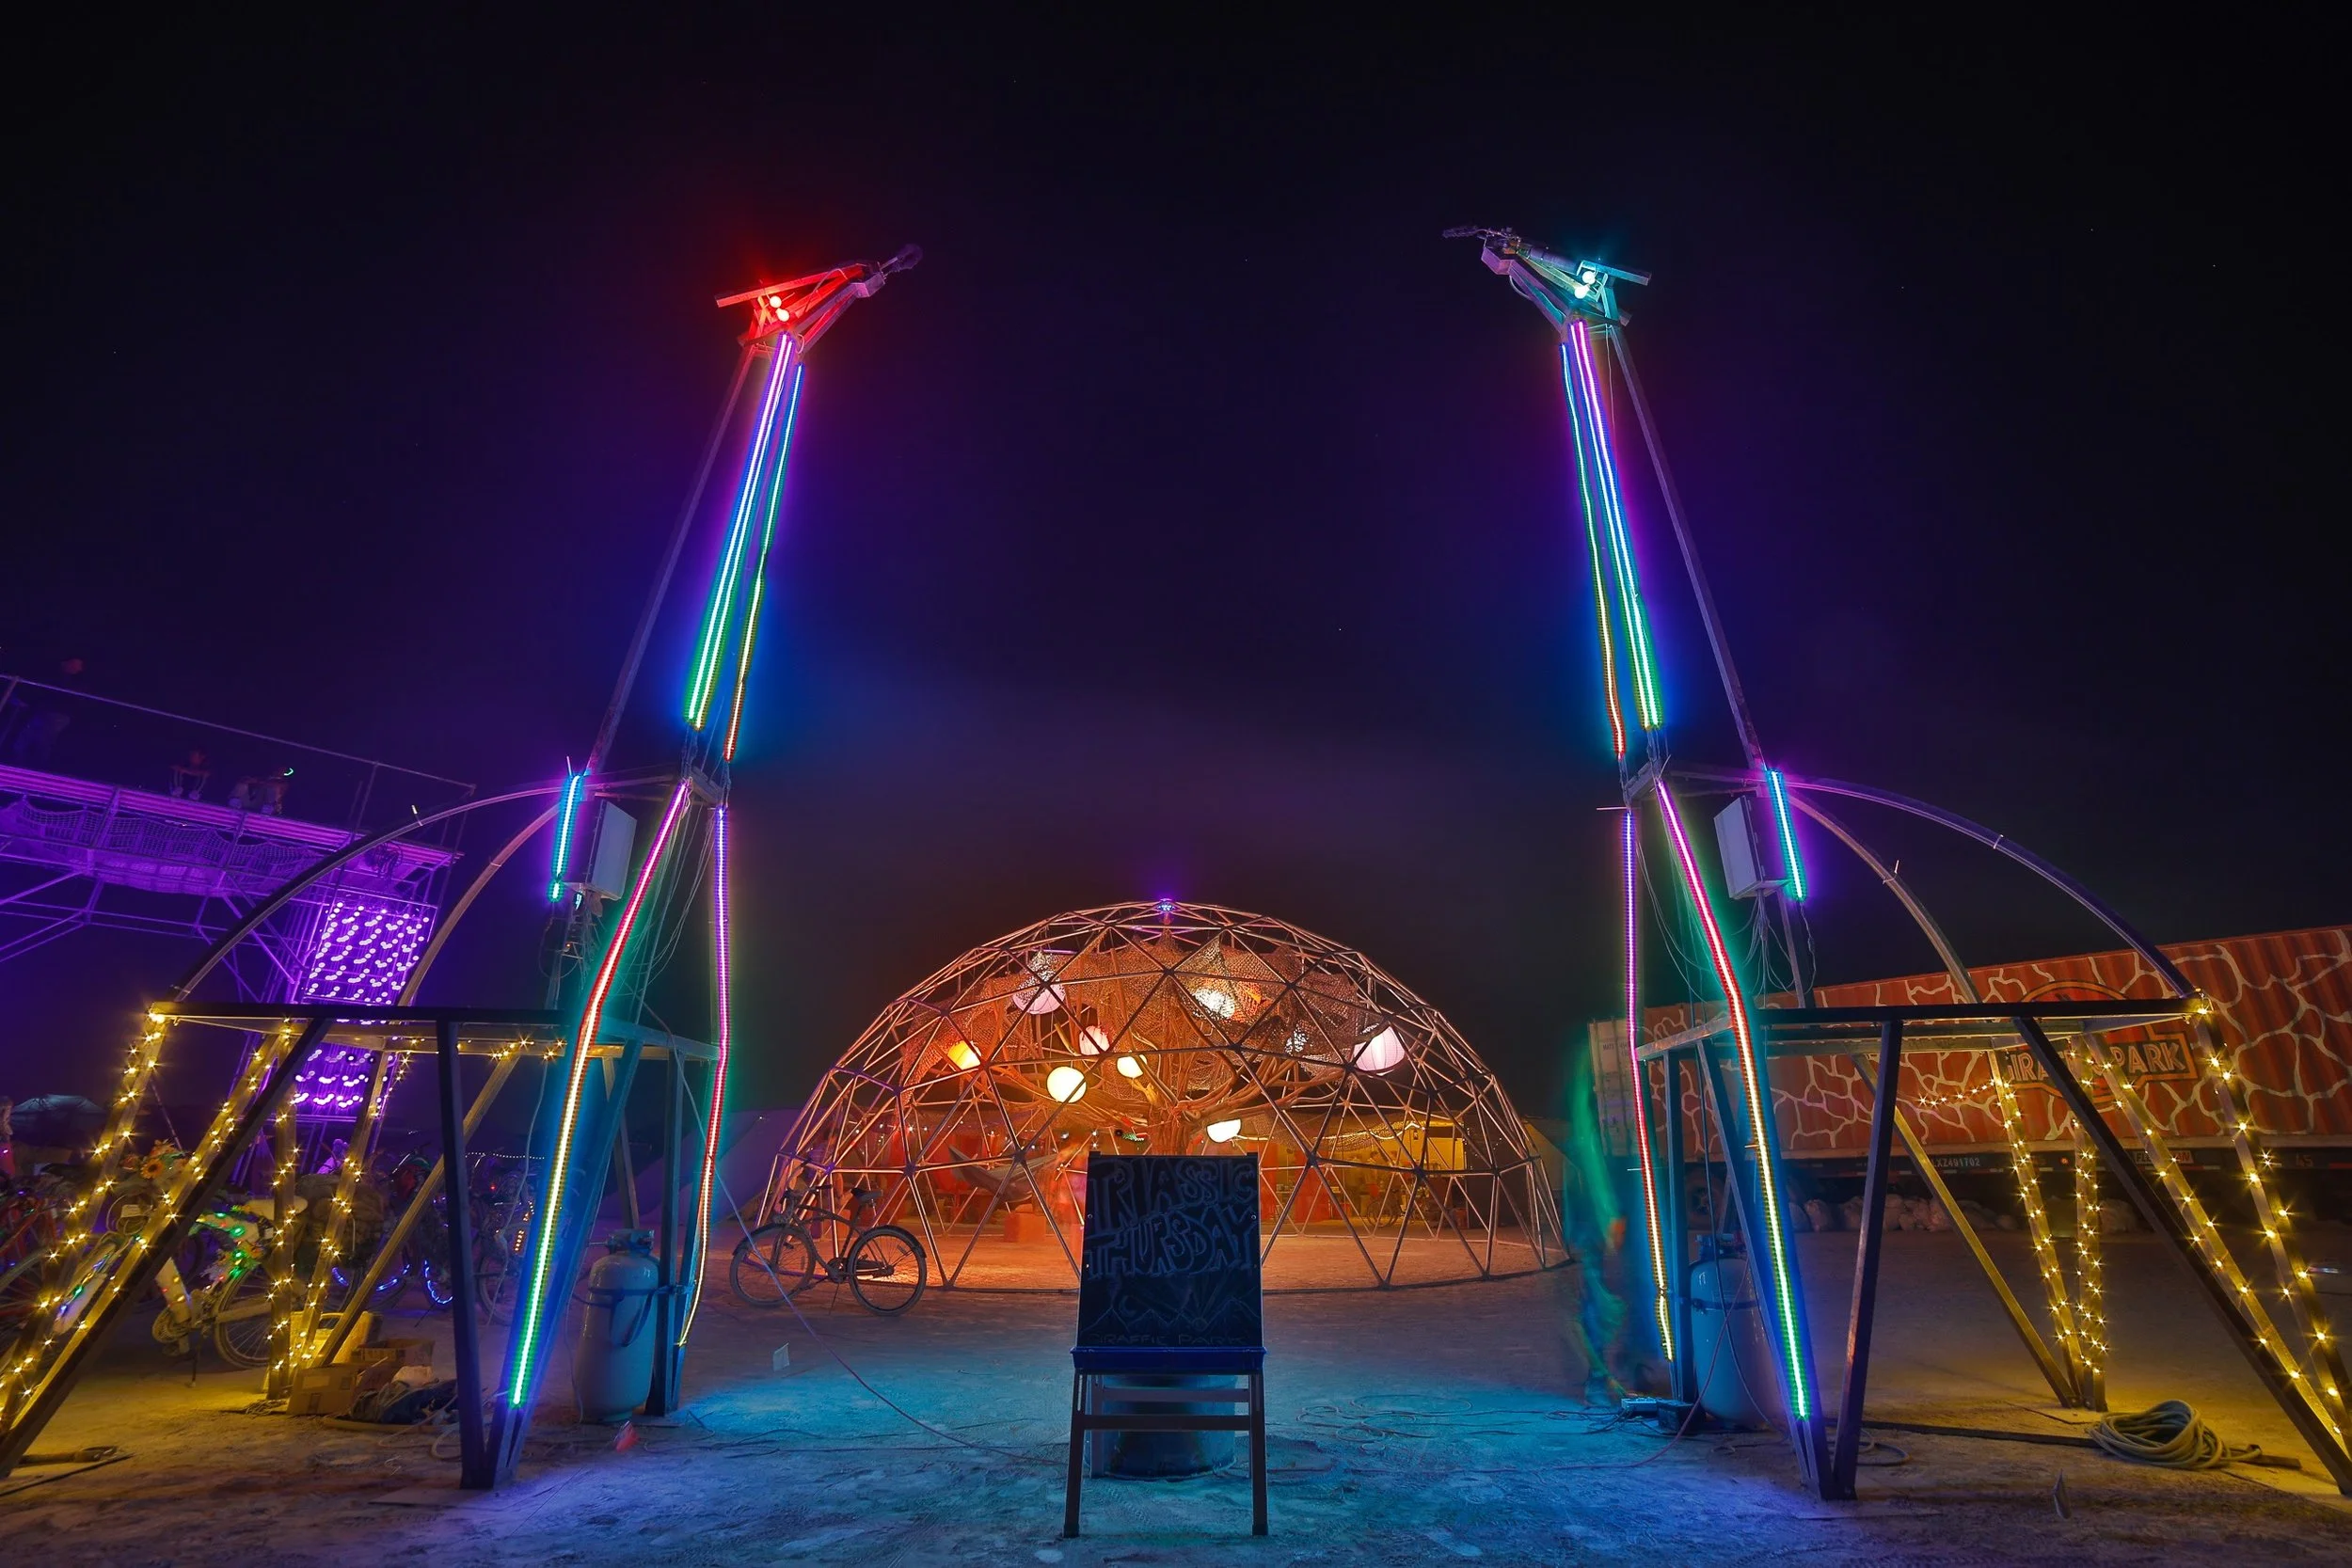
Giraffic Park
Round 1 – 2016
Giraffic Park is a giraffe-themed Burning Man camp that I joined in its second year to build things that I wouldn’t normally have a reason for building. My uncle once told me as a teenager that, “Curiosity is a gift.” I've kept that in mind ever since.
Being my first time going, I relied on information gathered through internet forums and experienced ‘burners’ with no hope to test my designs in real-world conditions before we arrived in the hostile desert environment for a week.

Yes, this is what a hostile desert environment looks like.
Giraffe Lighting
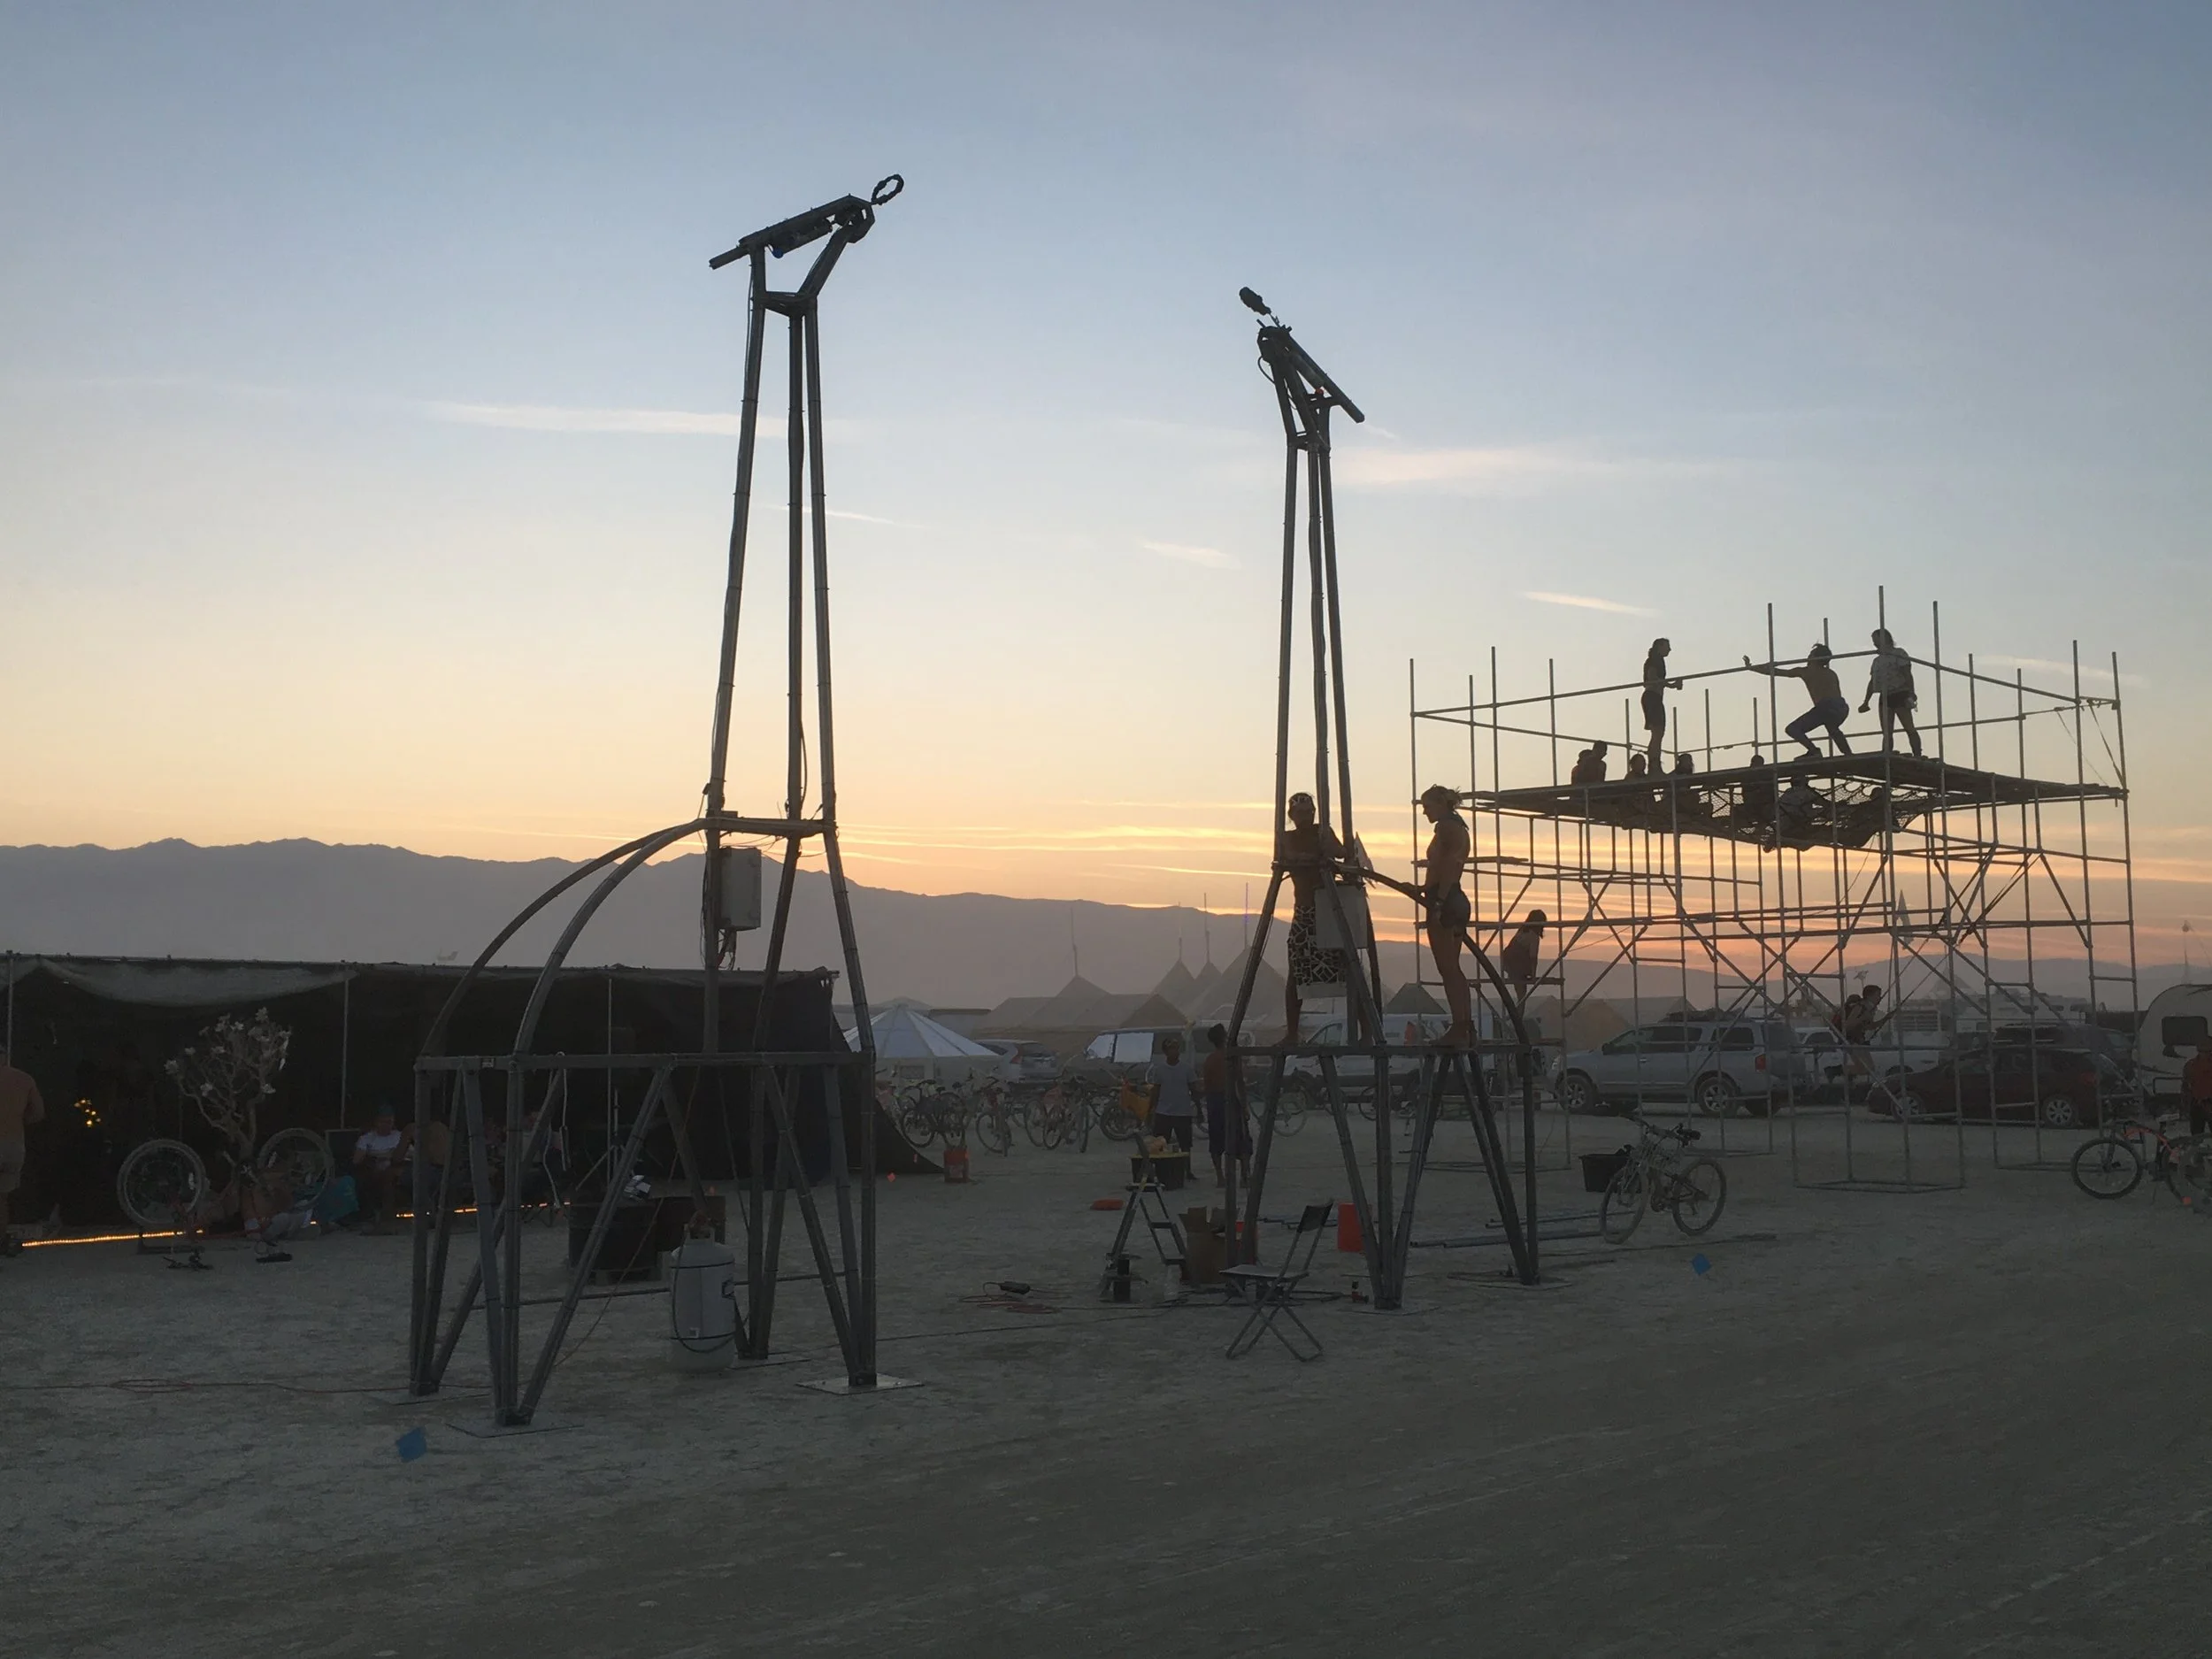
The year before I joined, the camp had built some bamboo giraffes for camp frontage but they were scrapped at the end of that year for a number of reasons: They were hard to assemble, not very stable, and difficult to reuse. My co-camper Jenna Steely volunteered to lead a new giraffe build project which she documents wonderfully here.
For 2016, I volunteered to lead camp lighting and Jenna wanted the giraffes she was designing to be fabulous at night. In addition to them breathing fire (led by Ross Fischer), I set about lighting each giraffe with 1200 individually addressable LEDs. (I said was a silly amount, but that’s basically the going rate for Burning Man.)
The giraffes as they would be seen during the day.
I’ll admit right now that I was afraid of working with electricity before I started this project. I’ll also admit that my enthusiasm to lead this project was to overcome that fear. There was a tight timeline and limited budget, but when it comes to helping others, I have boundless energy.
I dove headlong into the world of programmable LEDs, learning everything I could about electrical engineering, micro-controllers, and LED libraries. Having worked with mechatronic engineers on prototypes for so many years at the ERL, it was exciting and extremely rewarding to be taking things into my own hands.
I had to find a solution that was cheap, easy to program, and readily available. WS2812b-based LED strips have a low cost per meter and widespread community support but there is one drawback. The maximum refresh rate is inversely related to the number of LEDs that are being driven.
Lucky for me, brighter minds had already solved the problem. When I came across experiments running thousands of WS2812 LEDs at ≥30Hz, I knew it was possible. With that knowledge, I made a decision to go with the Teensy micro-controller and the following libraries: OctoW2811 and FastLED.
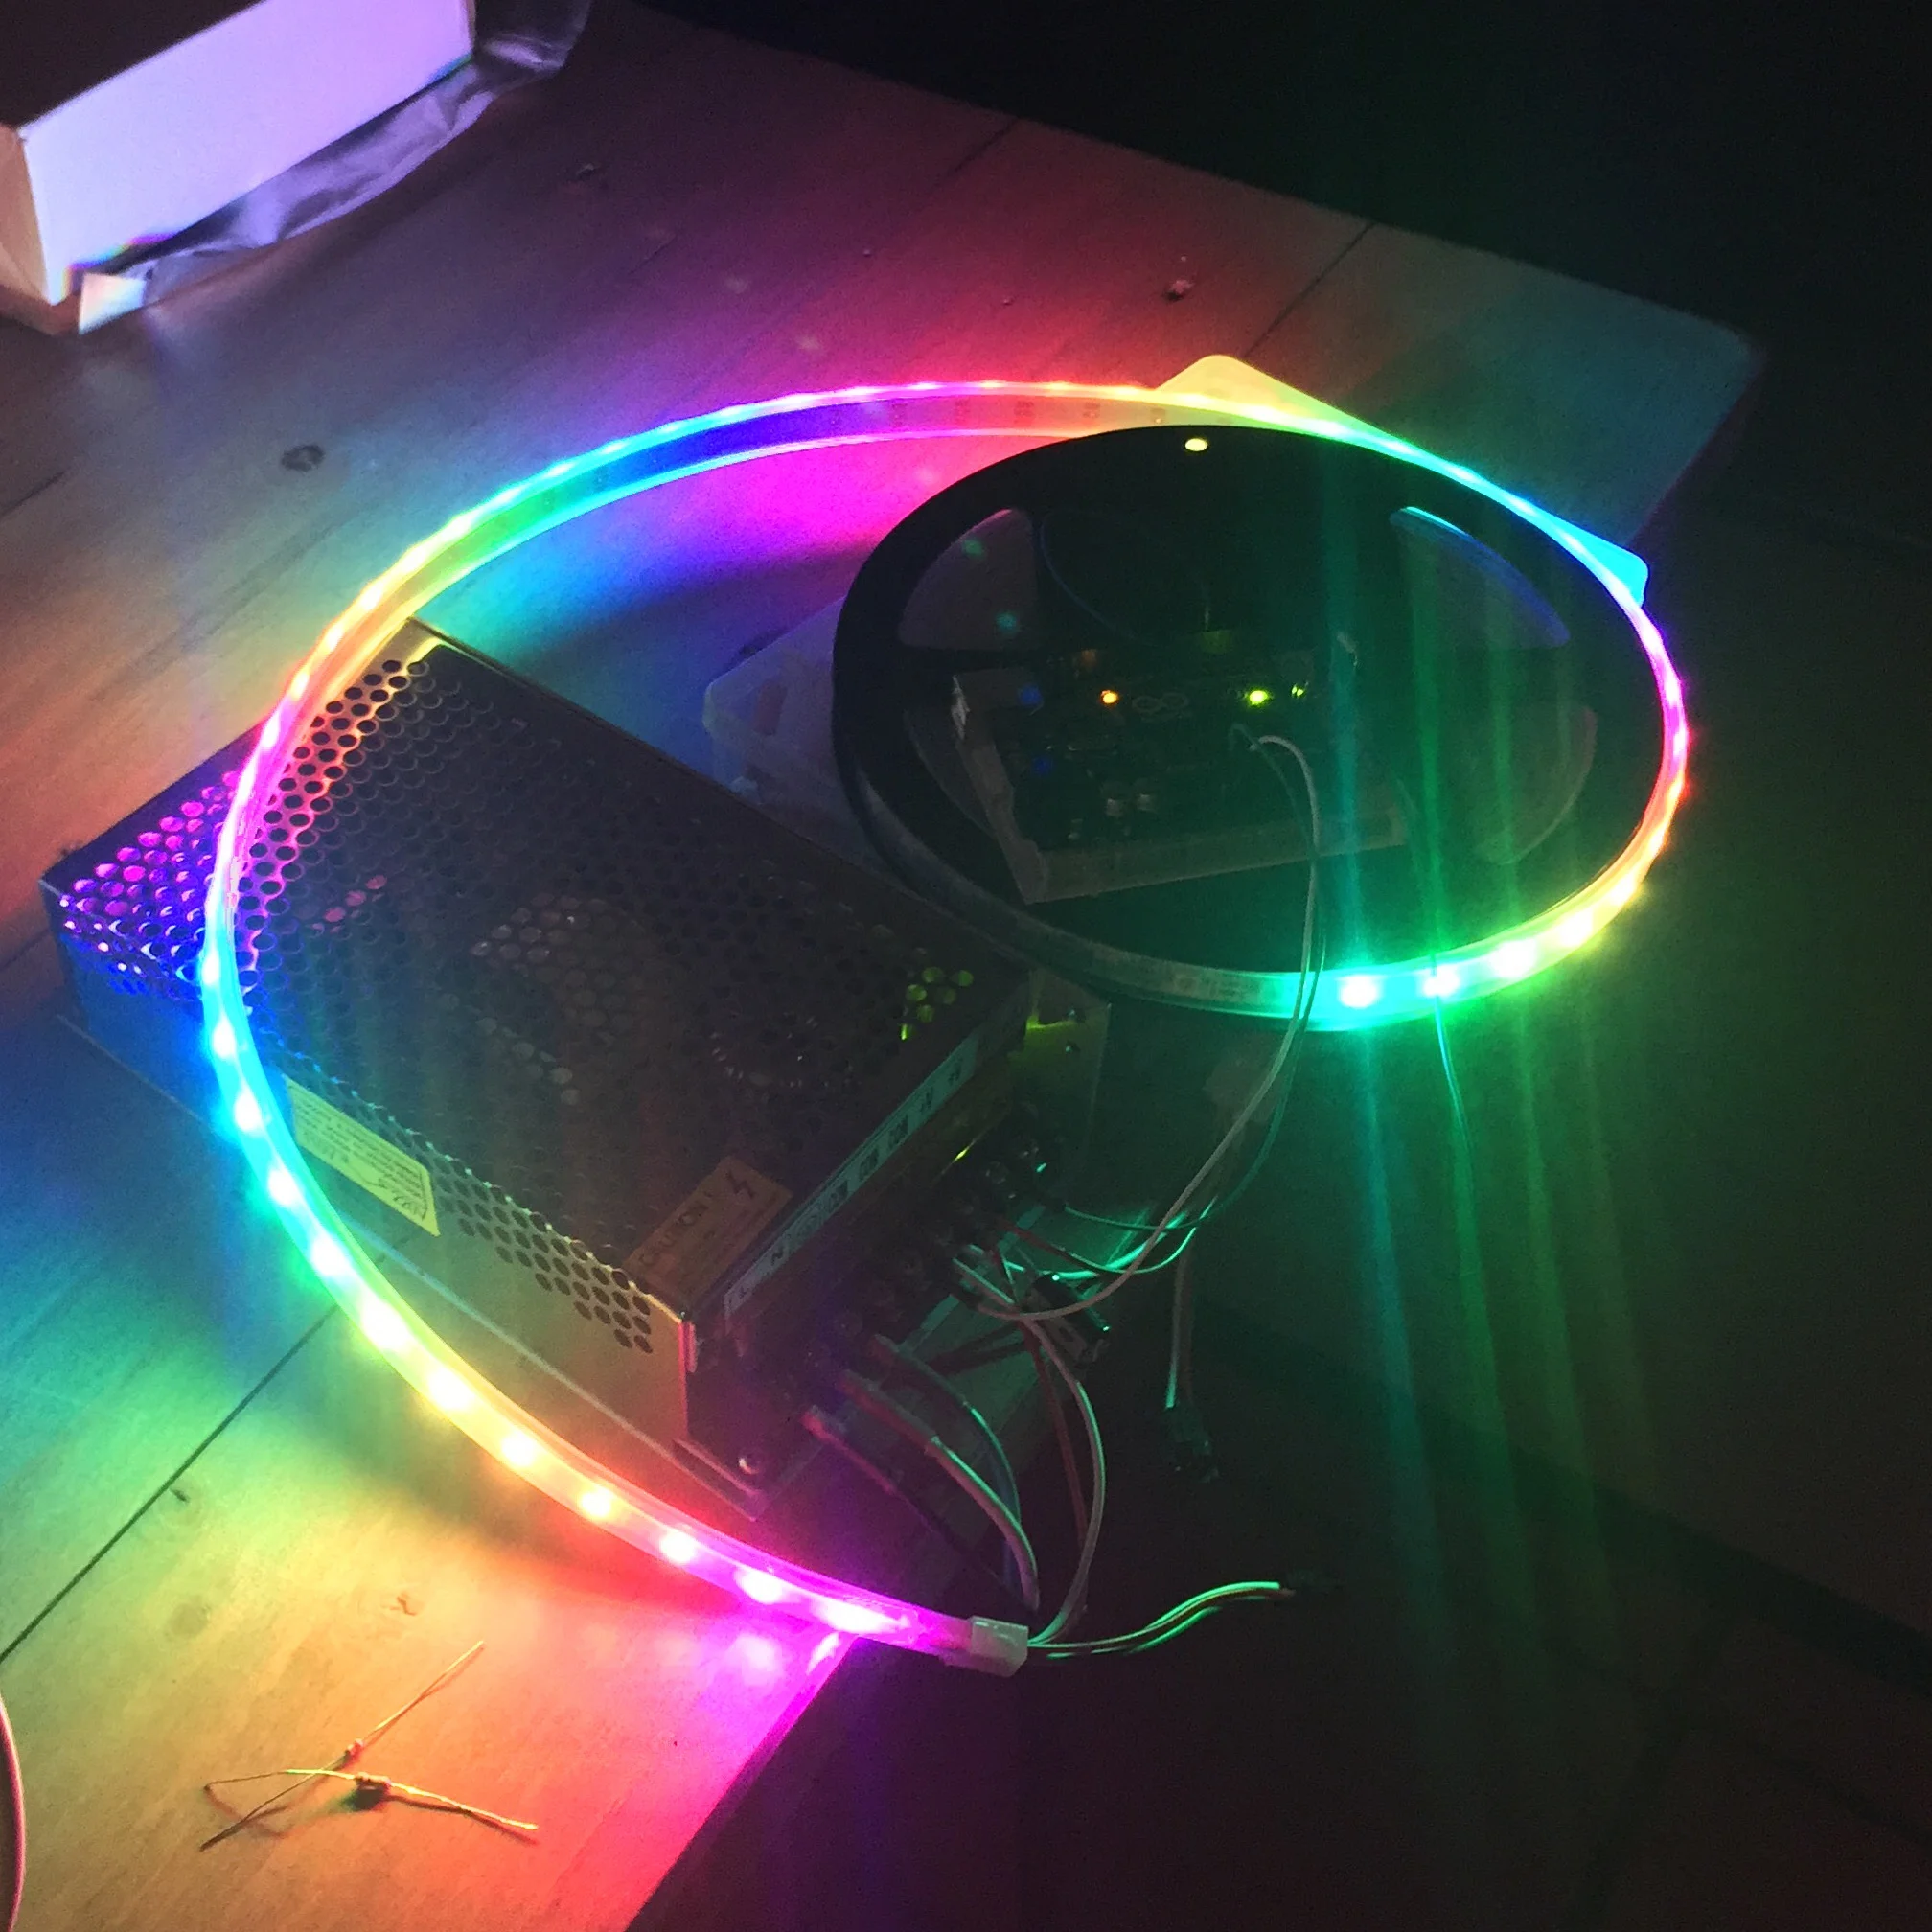
Confirming all of LED strips were fully functional.
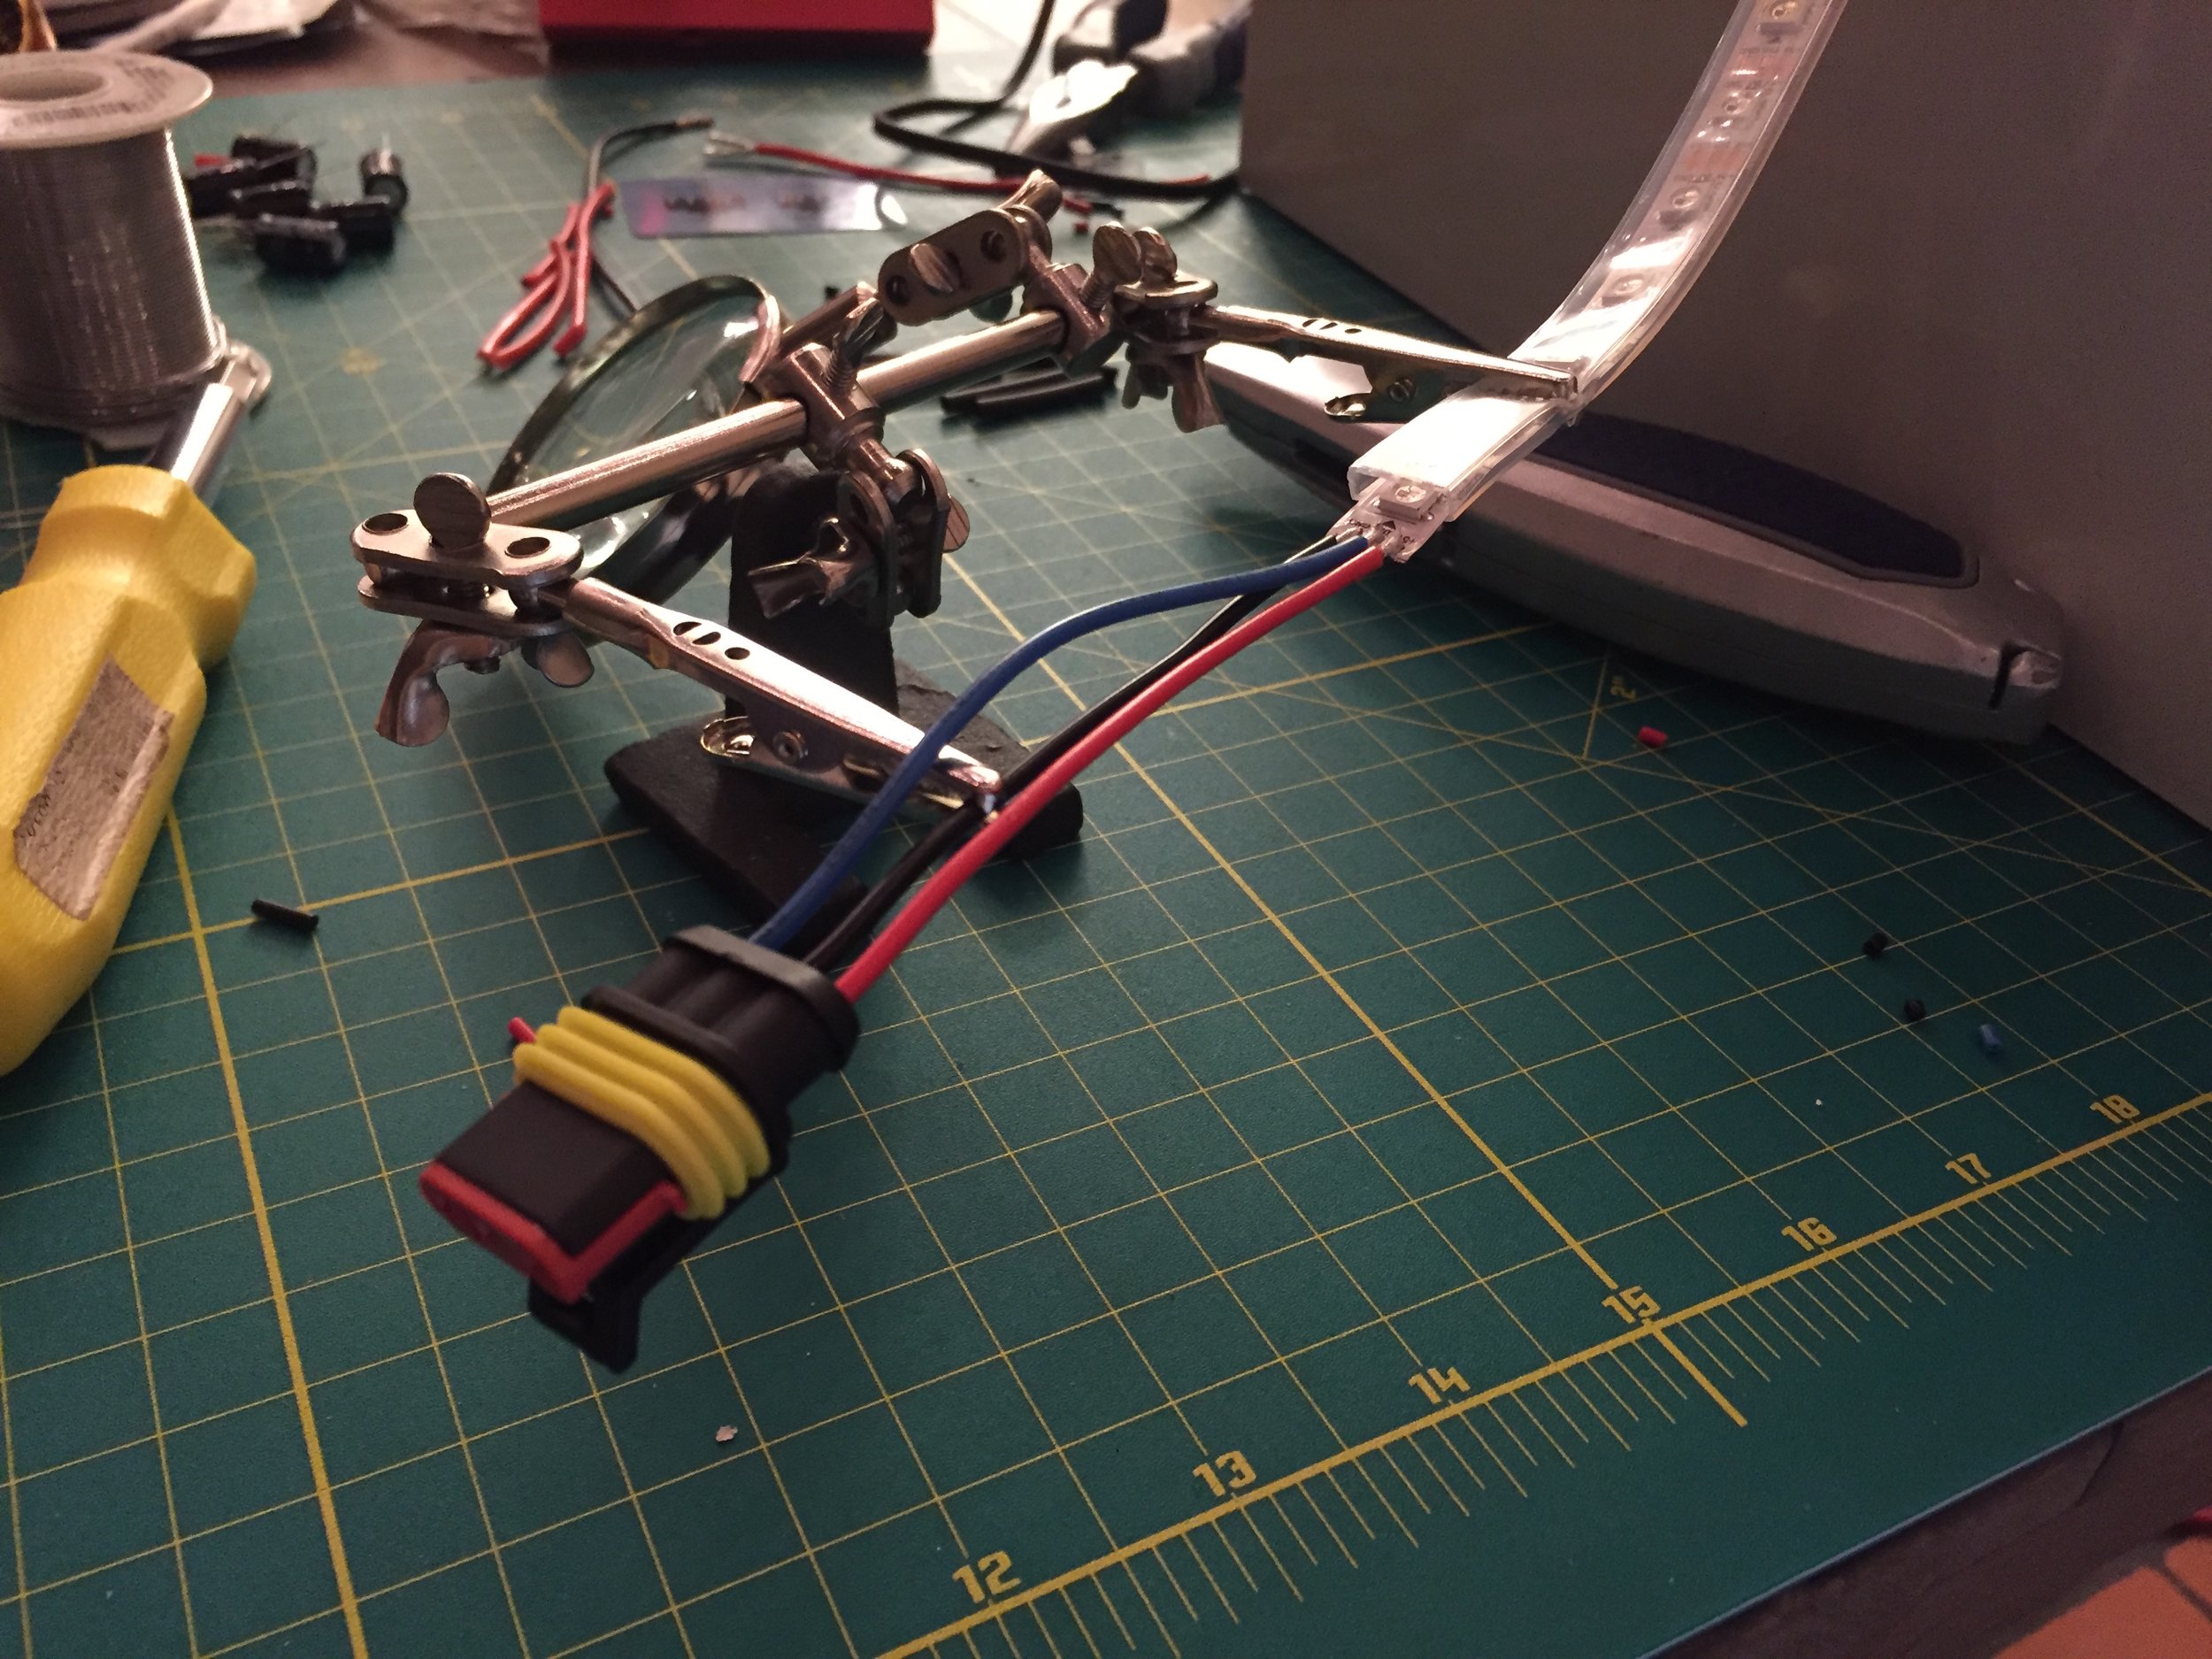
Soldering waterproof connectors to the LEDs.
Knowing that I might not always be around to turn the lights on/off or troubleshoot, I wanted to make everything as straightforward as possible for others by using one-way connectors and a simple on-off switch. The power supplies and micro-controller also had to be protected from the weather.

Laying out the components in the enclosure before laser cutting the bracket.
I used an off-the-shelf waterproof enclosure and lasercut an acrylic plate to mount all of the electronics to the inside. Each box mounts in the torso of the giraffes and the LED strips are attached to the giraffe's neck and back. All of the wires enter/exit through a hole drilled in the bottom of the enclosure.
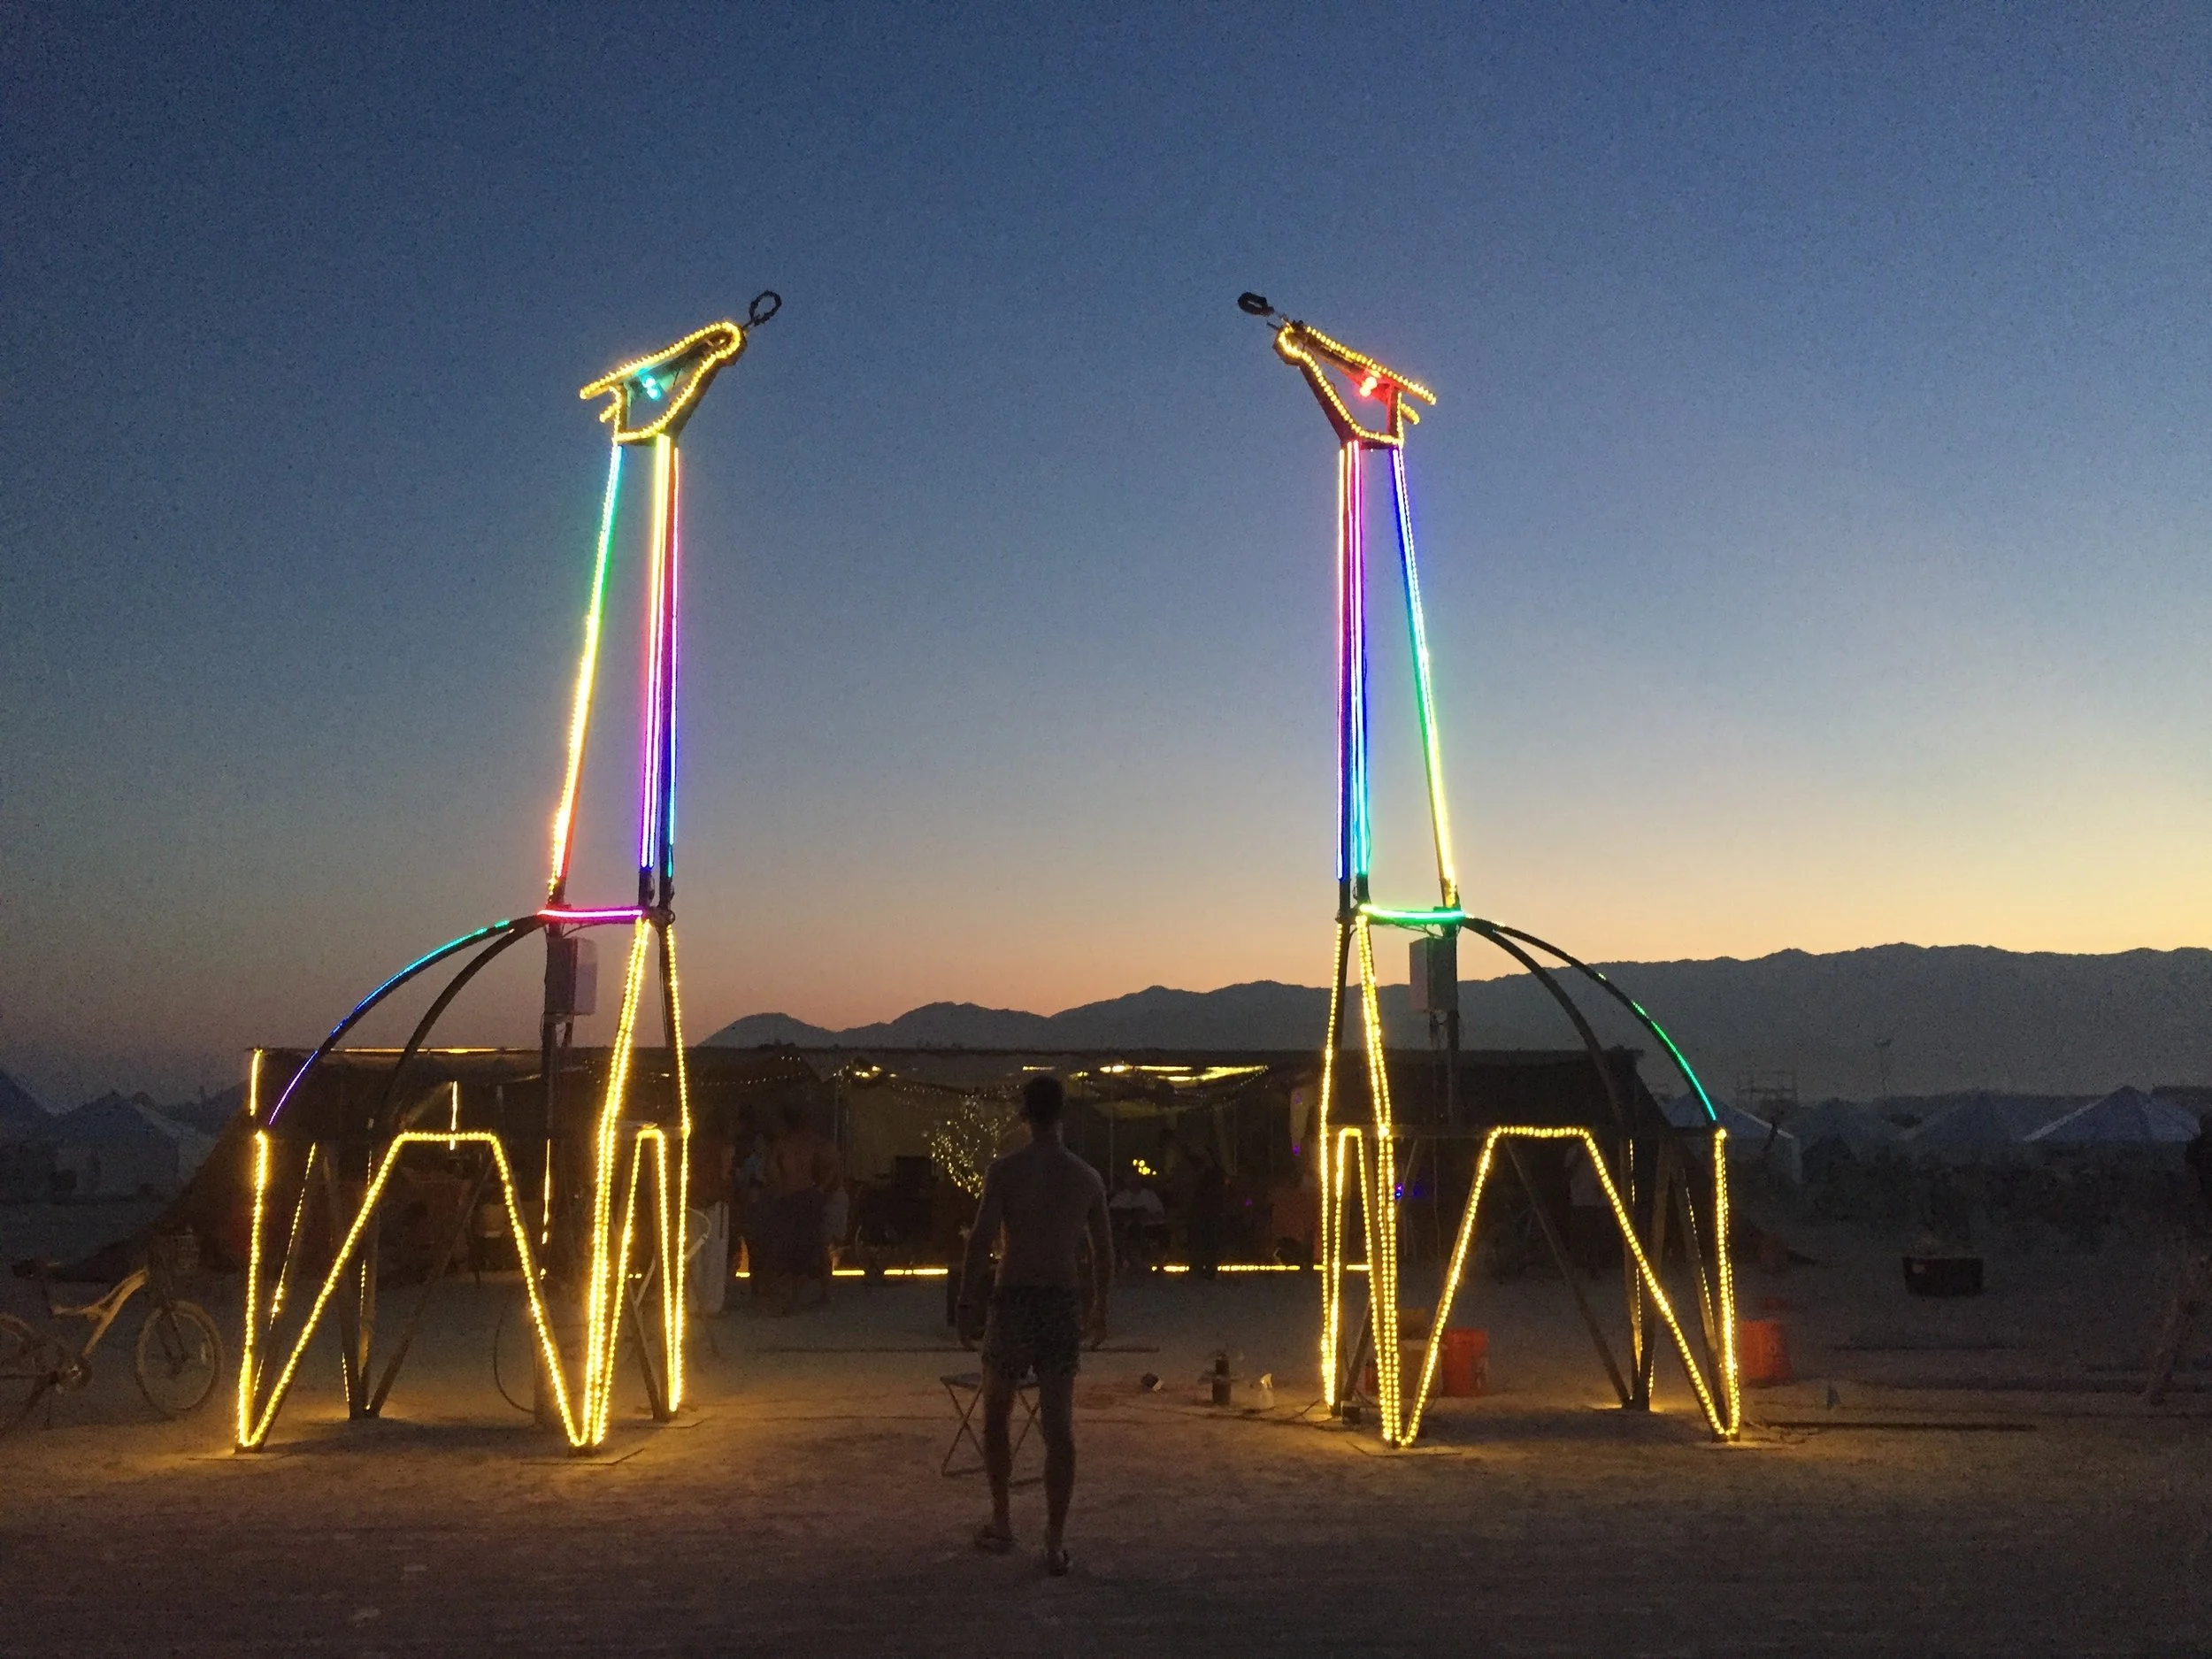
Our beautiful giraffes, Gadget (left) and Gizmo (right), would guide us home after long nights out on the Playa.
We used warm rope lighting to complete the outline of the giraffes. The system proved to be robust and reliable (save for the budget rope lighting that shorted out on Gizmo). I felt immense pride when they were lit up for the first time and they could easily be seen from a distance, serving as a beacon when biking through the city streets at night.
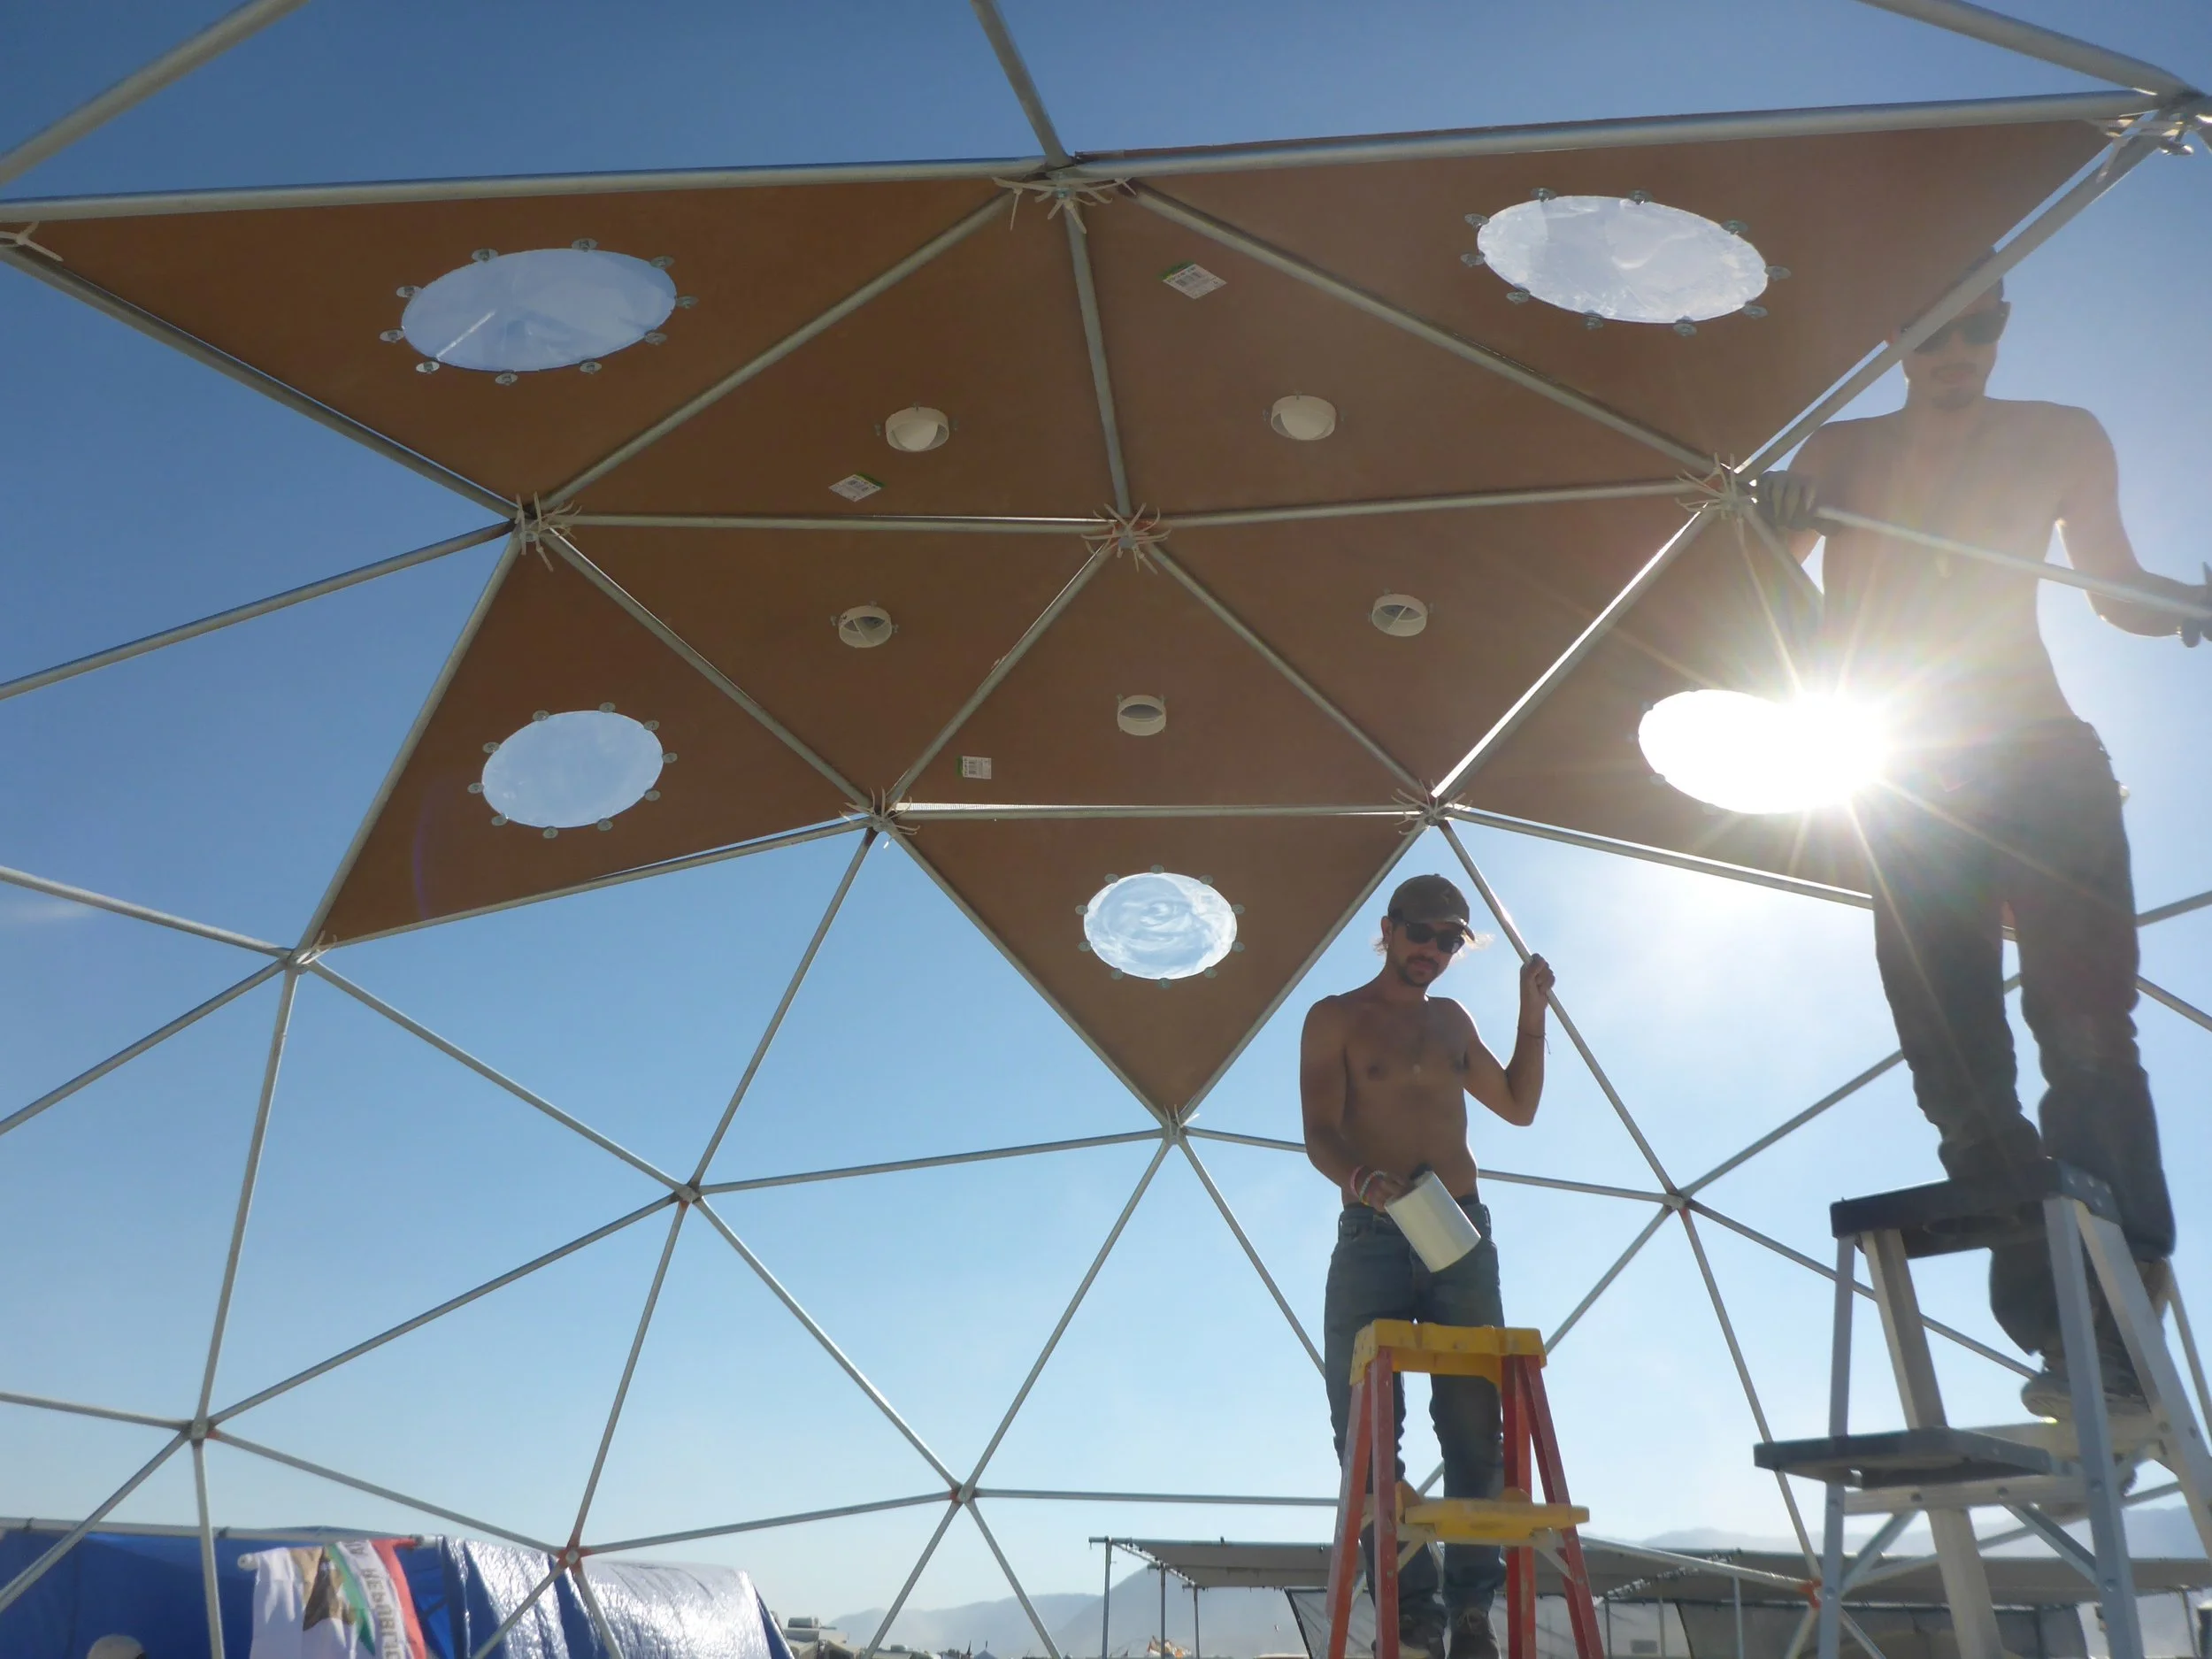
Geodesic Dome Shelter
The same year, three campmates and I wanted to build a geodesic dome to sleep in. Because, domes are awesome.
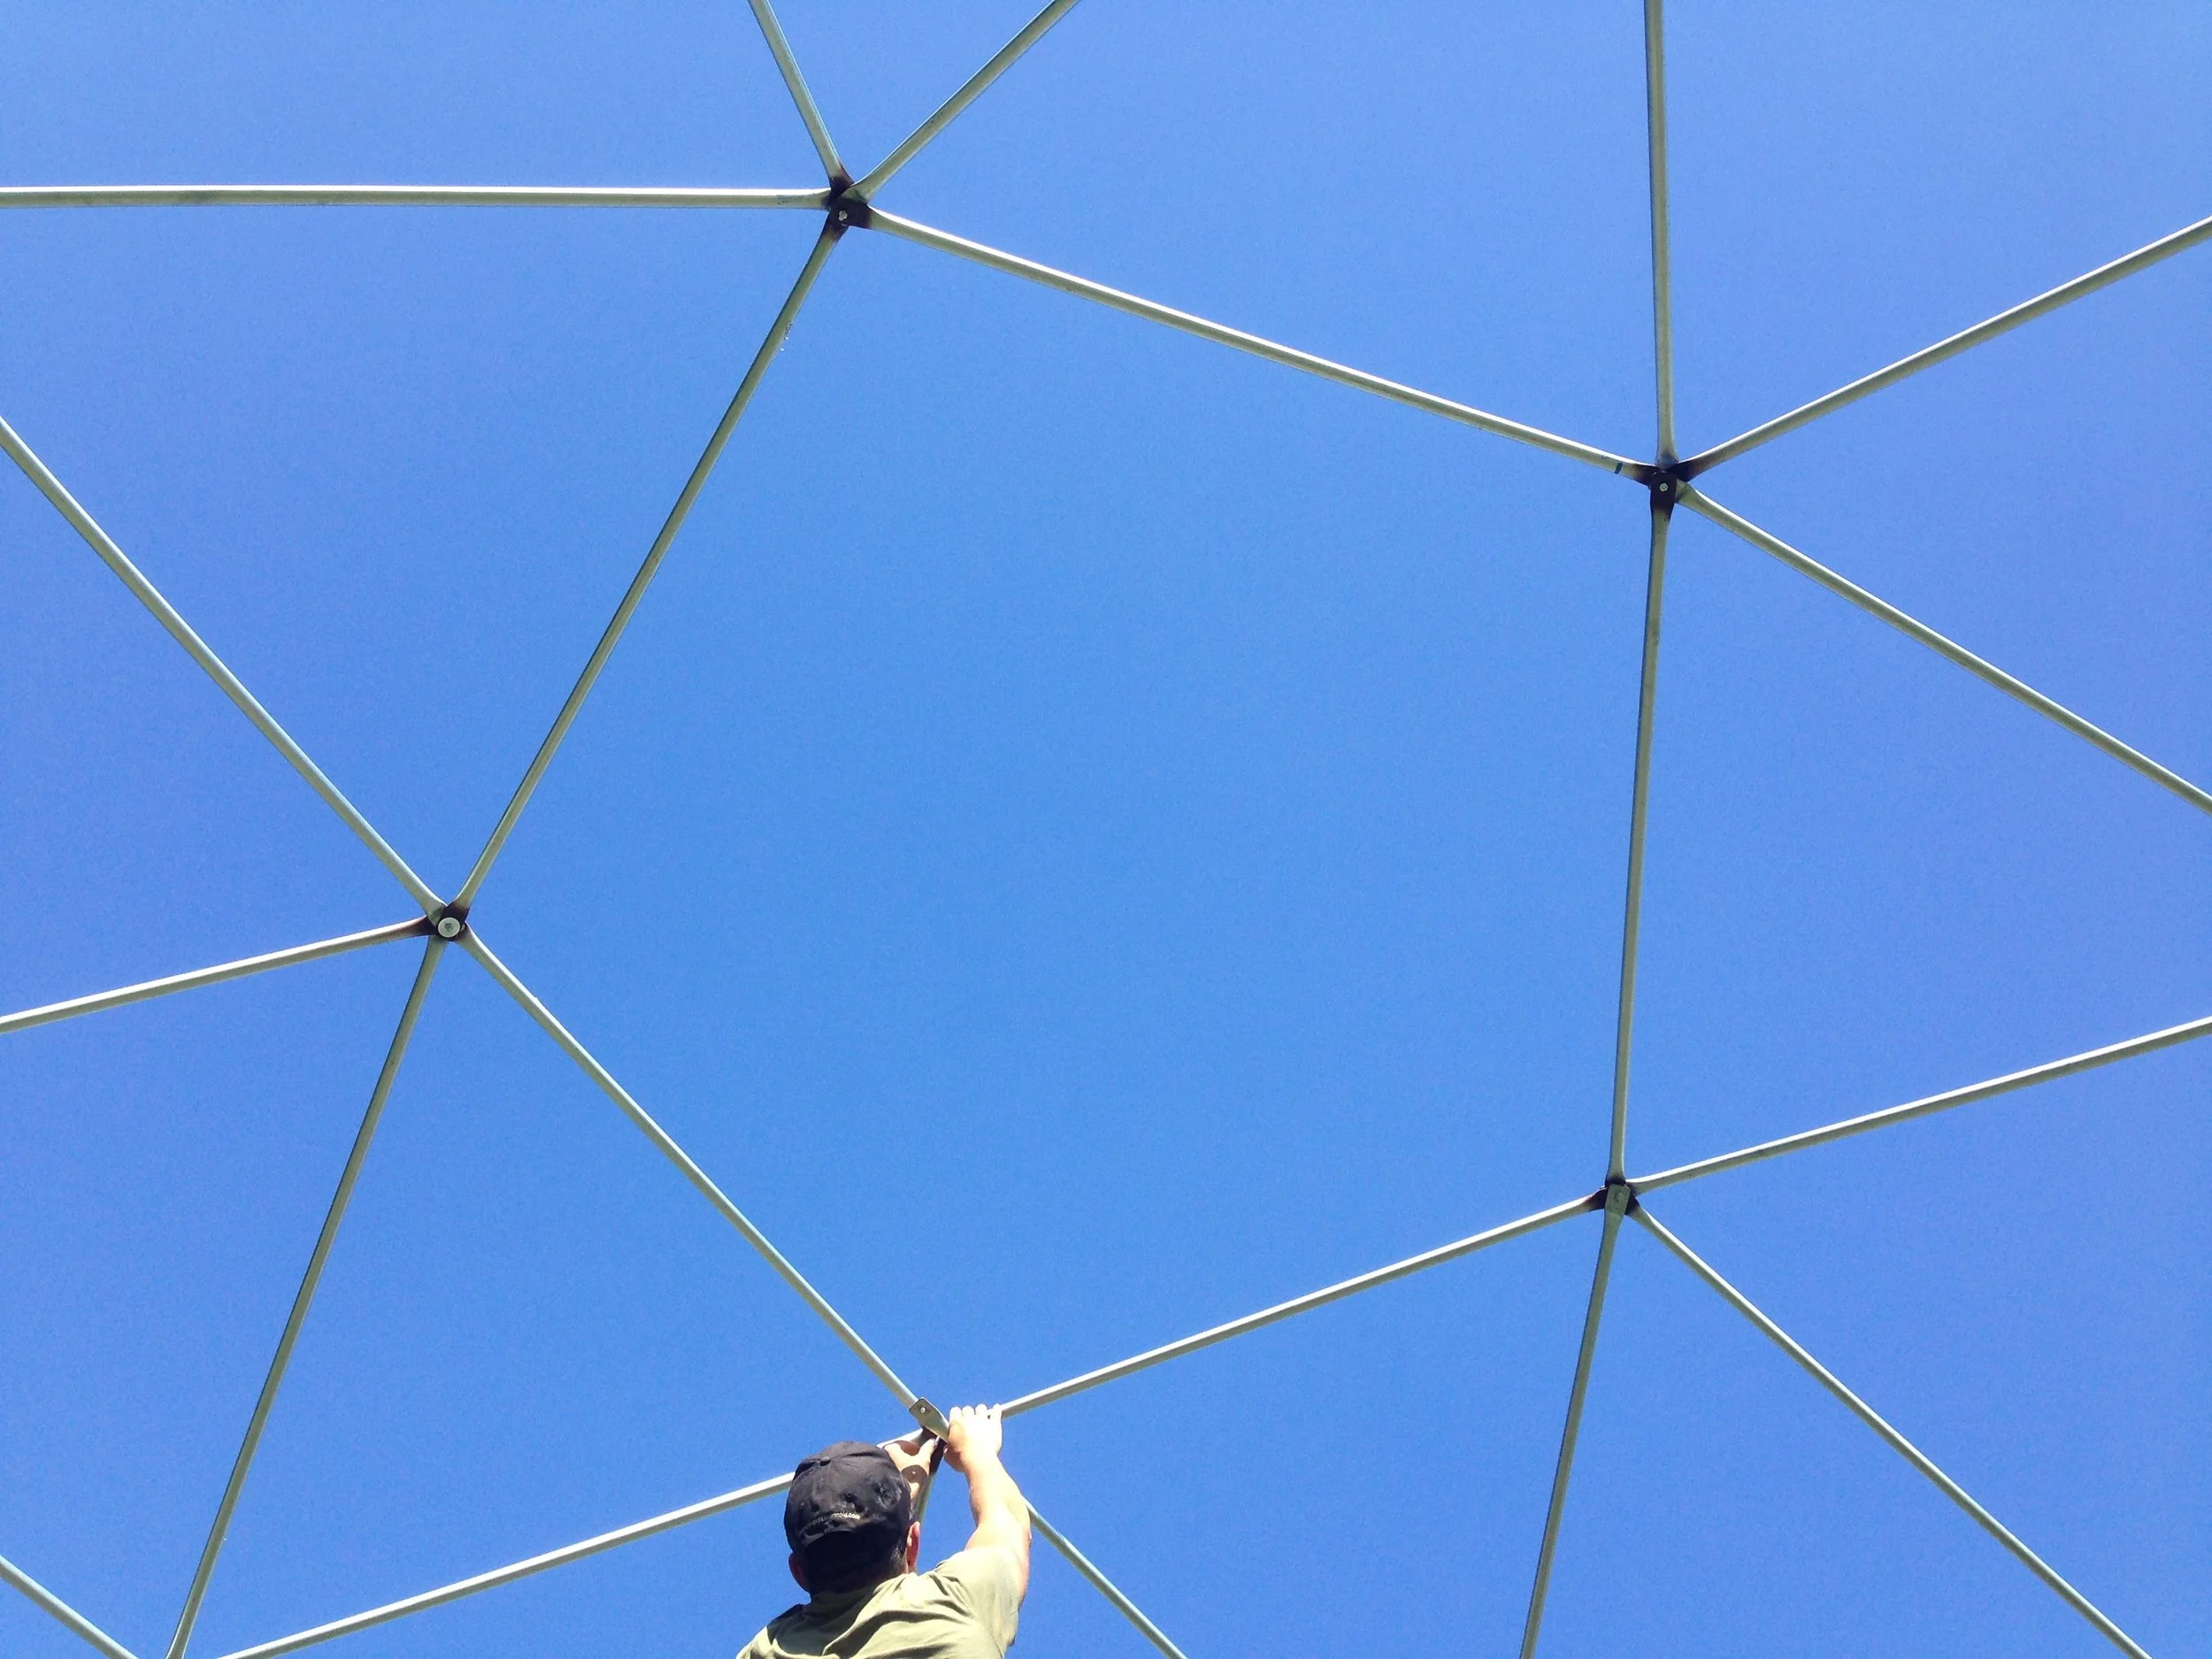
It's helpful when one of your teammates is tall.
They are incredible structures with an excellent strength to weight ratio, but as we would come to learn, covering a dome to be weatherproof is much harder and more expensive than building the frame.
Once again, turning to the internet yielded a smattering of information on how to build domes. Thankfully, there's at least one amazing dome calculator (which I've used countless times since). Cobbling together tools, we fabricated a 20' diameter 3V 5/8 dome with 3/4" steel conduit, nuts, bolts, and washers using a popular construction and assembly method.
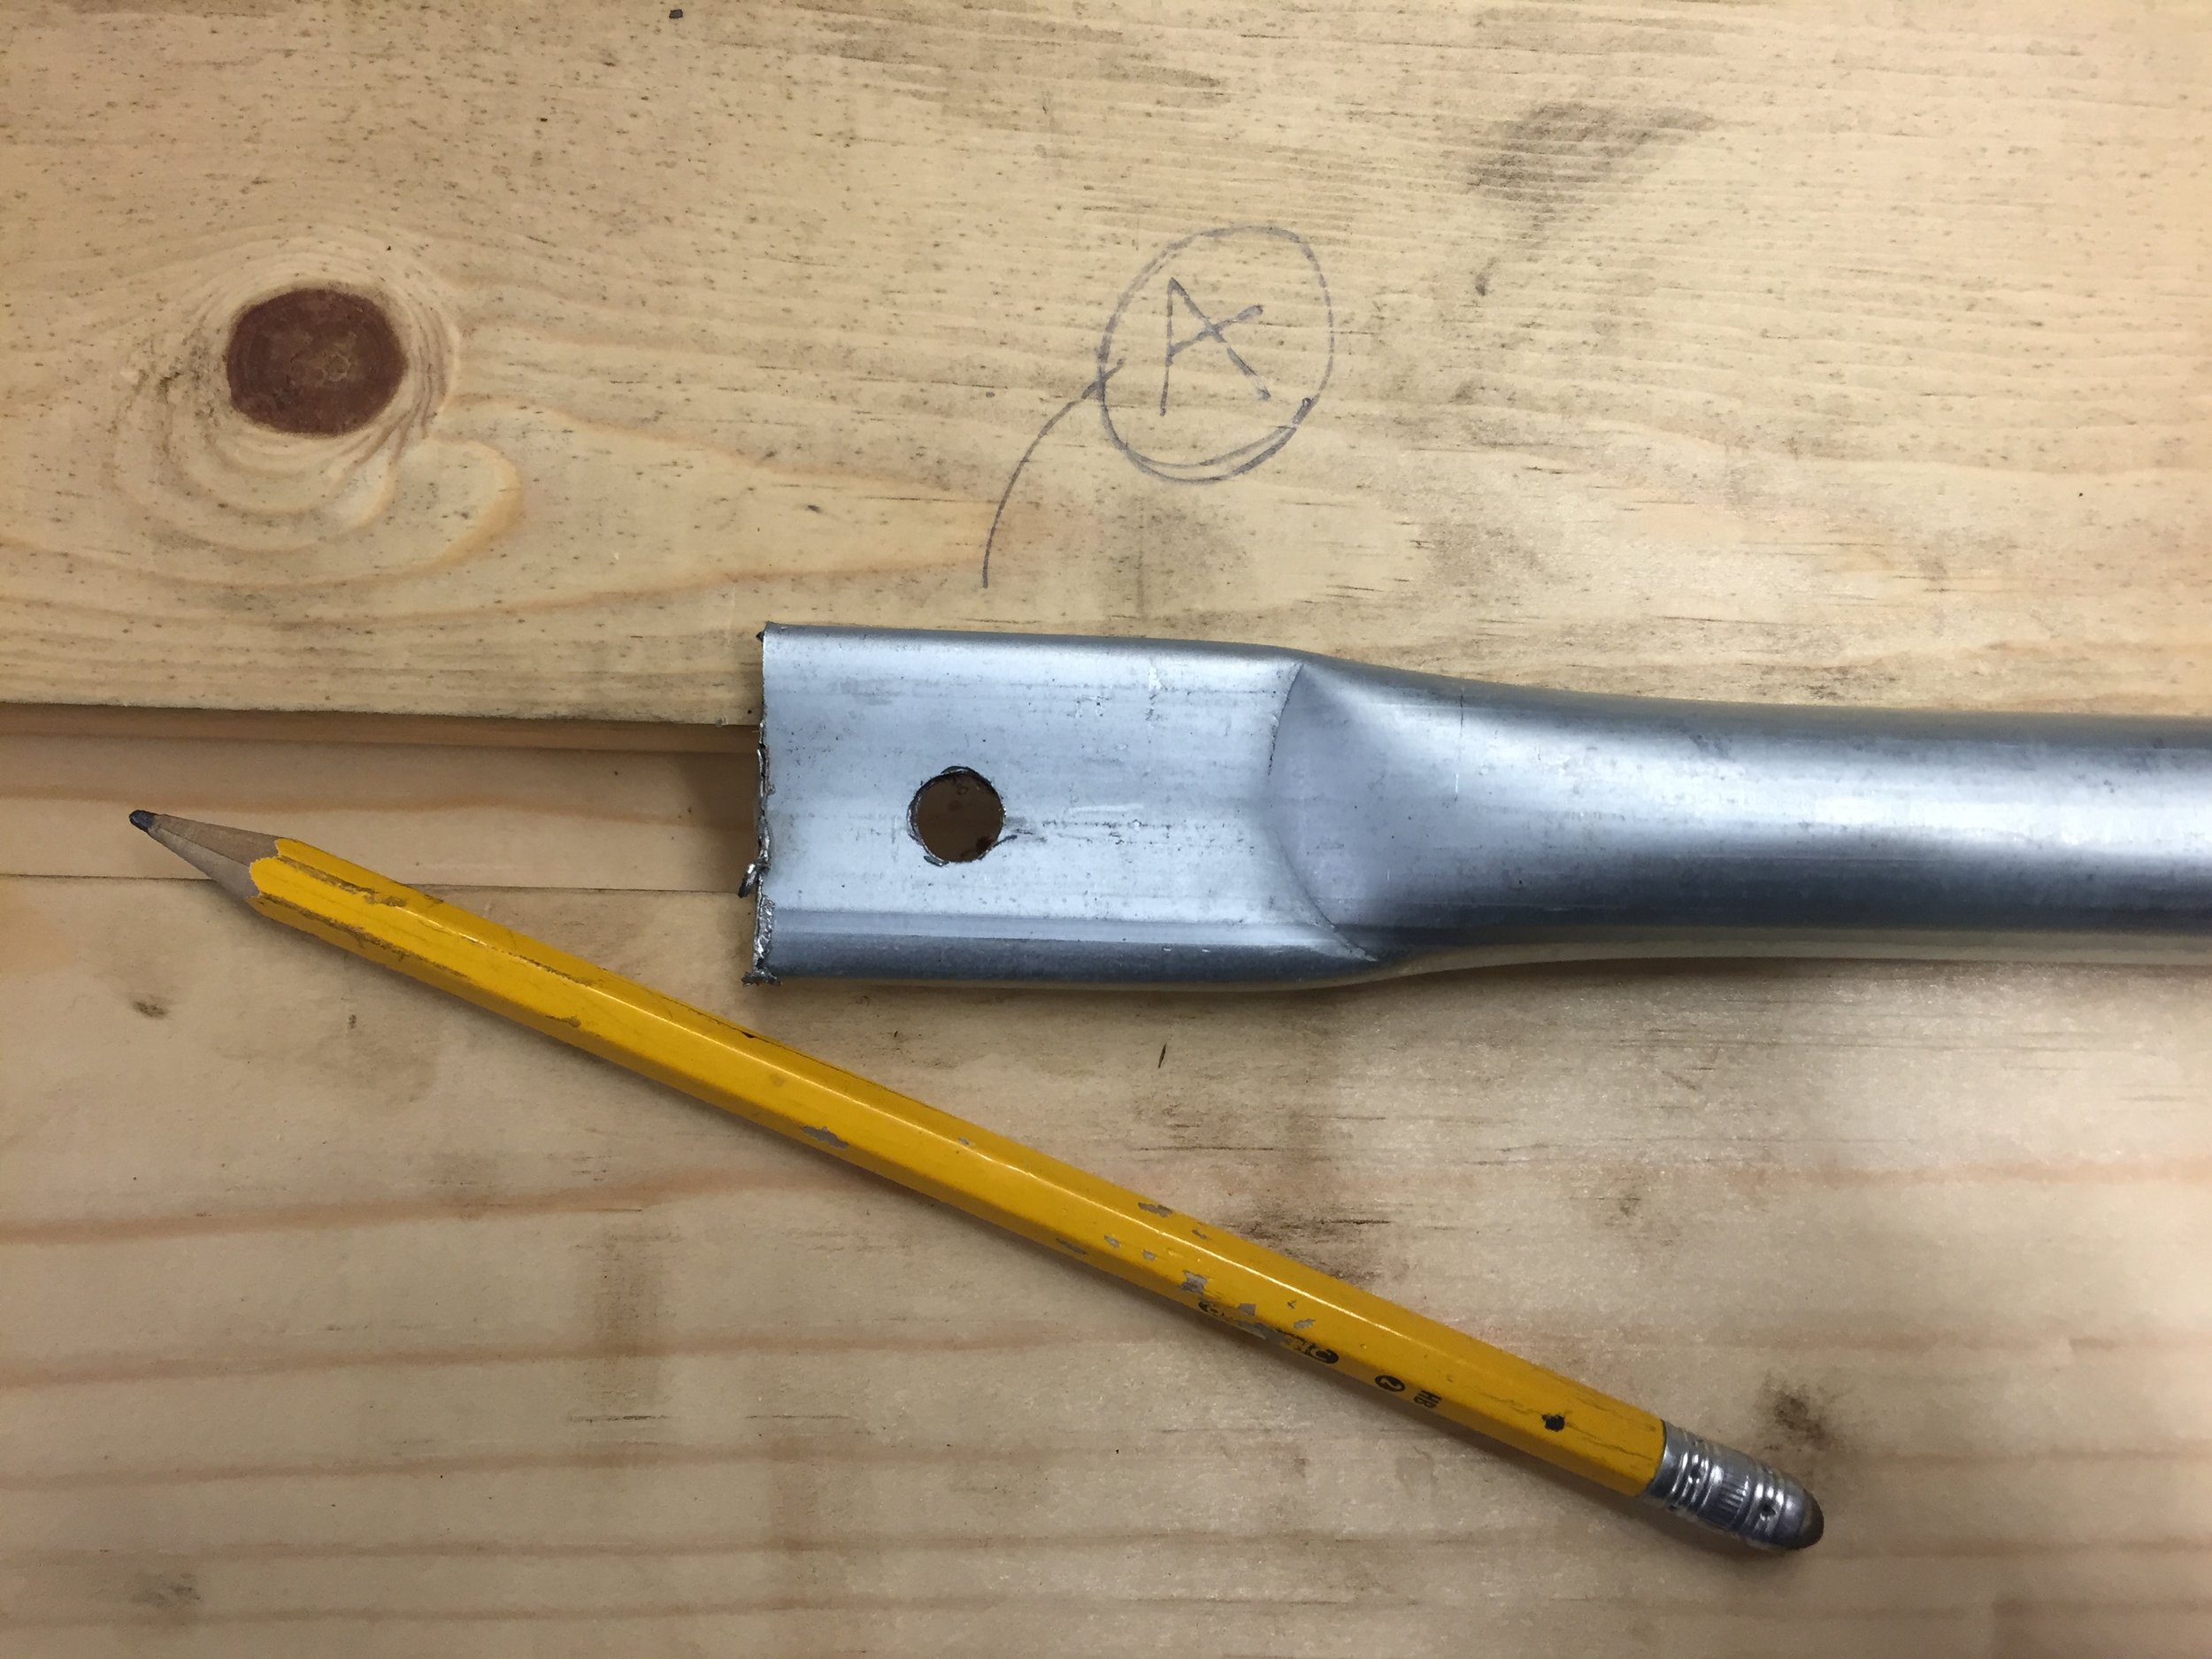
The hole to hole distance on the struts is critical.
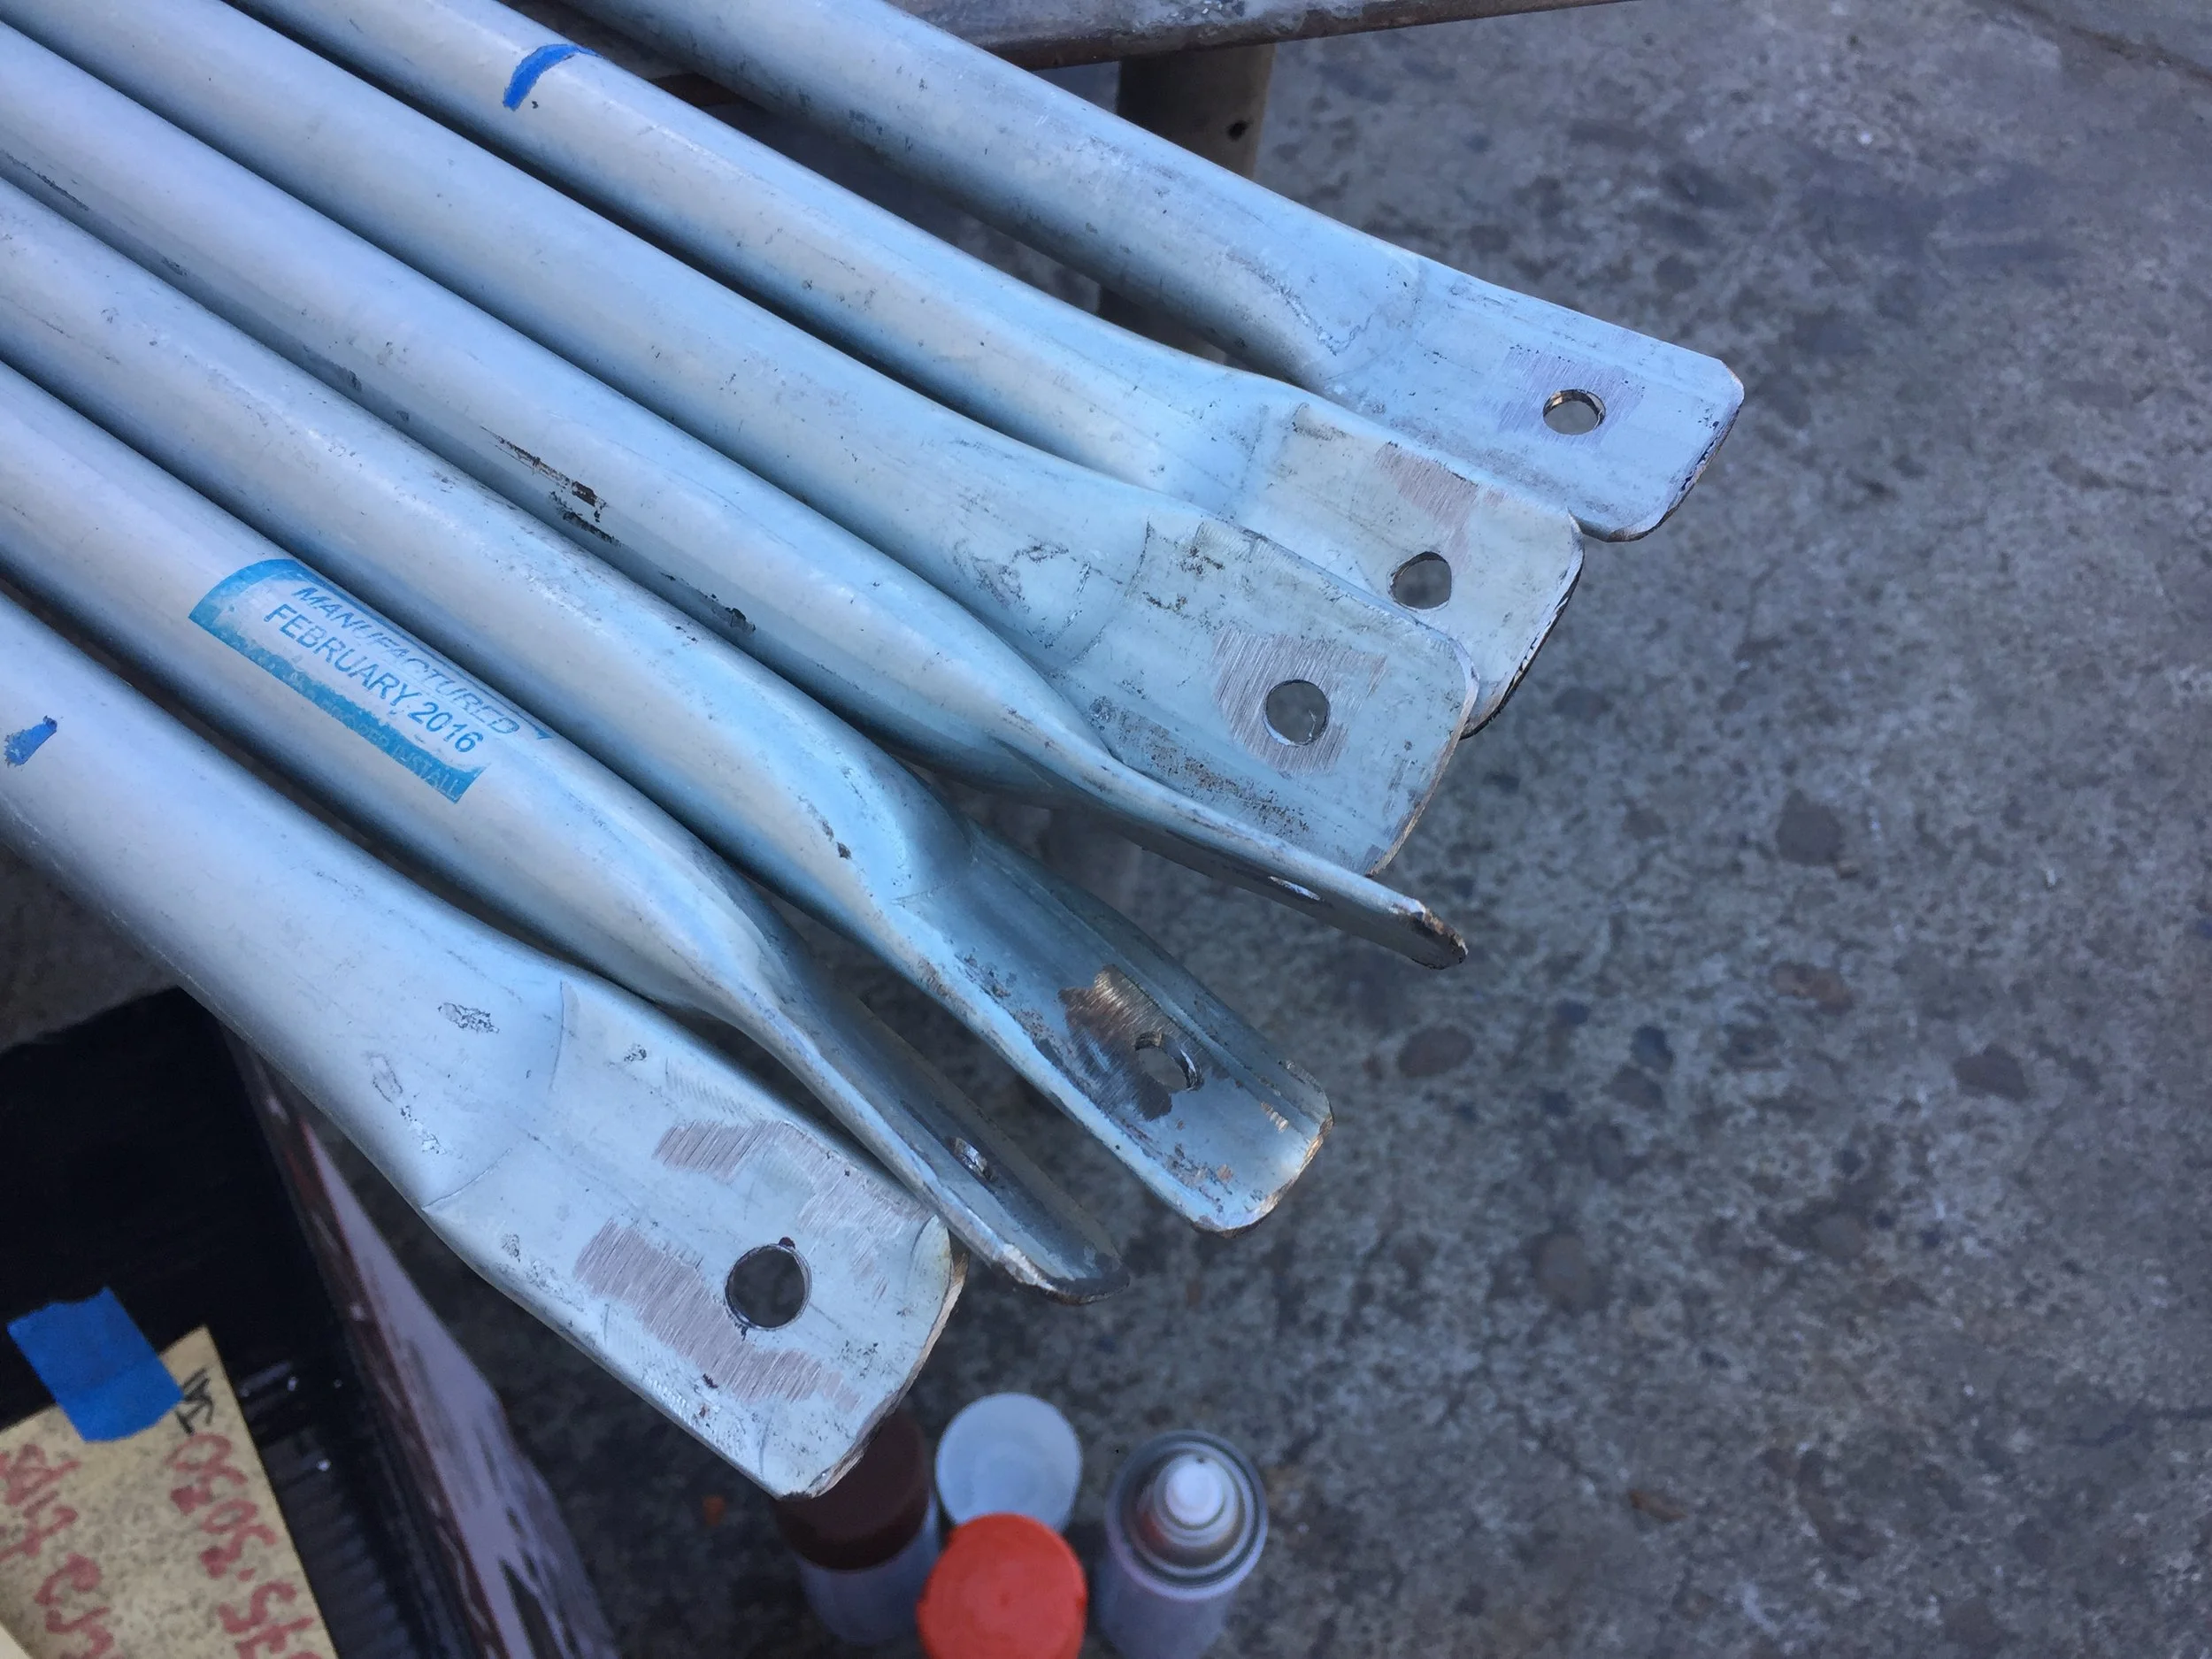
After drilling, struts were flattened, smoothed, and bent.
To build a dome in any style requires precise measurements and accurate cutting and drilling. One of my all-time favorite aspects of working on projects like this is creating jigs to make the process faster and easier. I suppose it's the optimization engineer in myself crying for attention.
Fabricating the frame itself was quick enough with our combined effort, but we charted into unknown territories with our attempt to cover the dome. Wanting to highlight the triangular geometry, we cut 4x8' sheets of hardboard into the two differently shaped triangles.
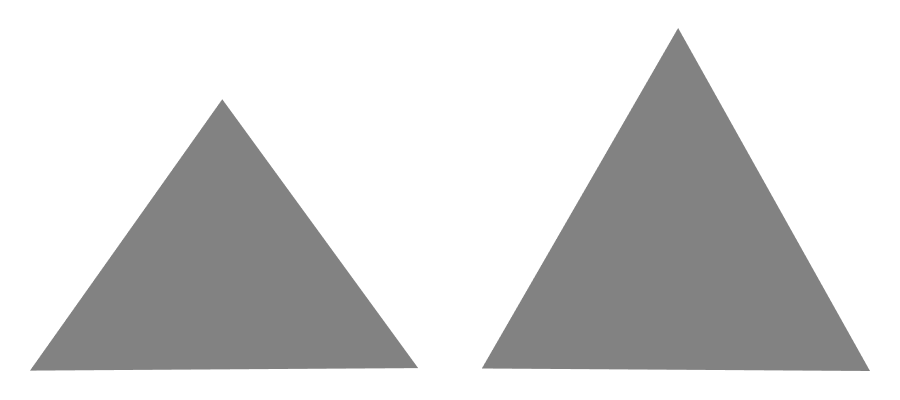
# of Triangles in a 3V dome: Left (30) Right (75)
To waterproof them, we painted the smoother outside facing surfaces with silicone based roof paint designed to reduce solar heating. To seal the dome from dust and water, we planned on using bi-directional filament tape across the seams where the panels meet.
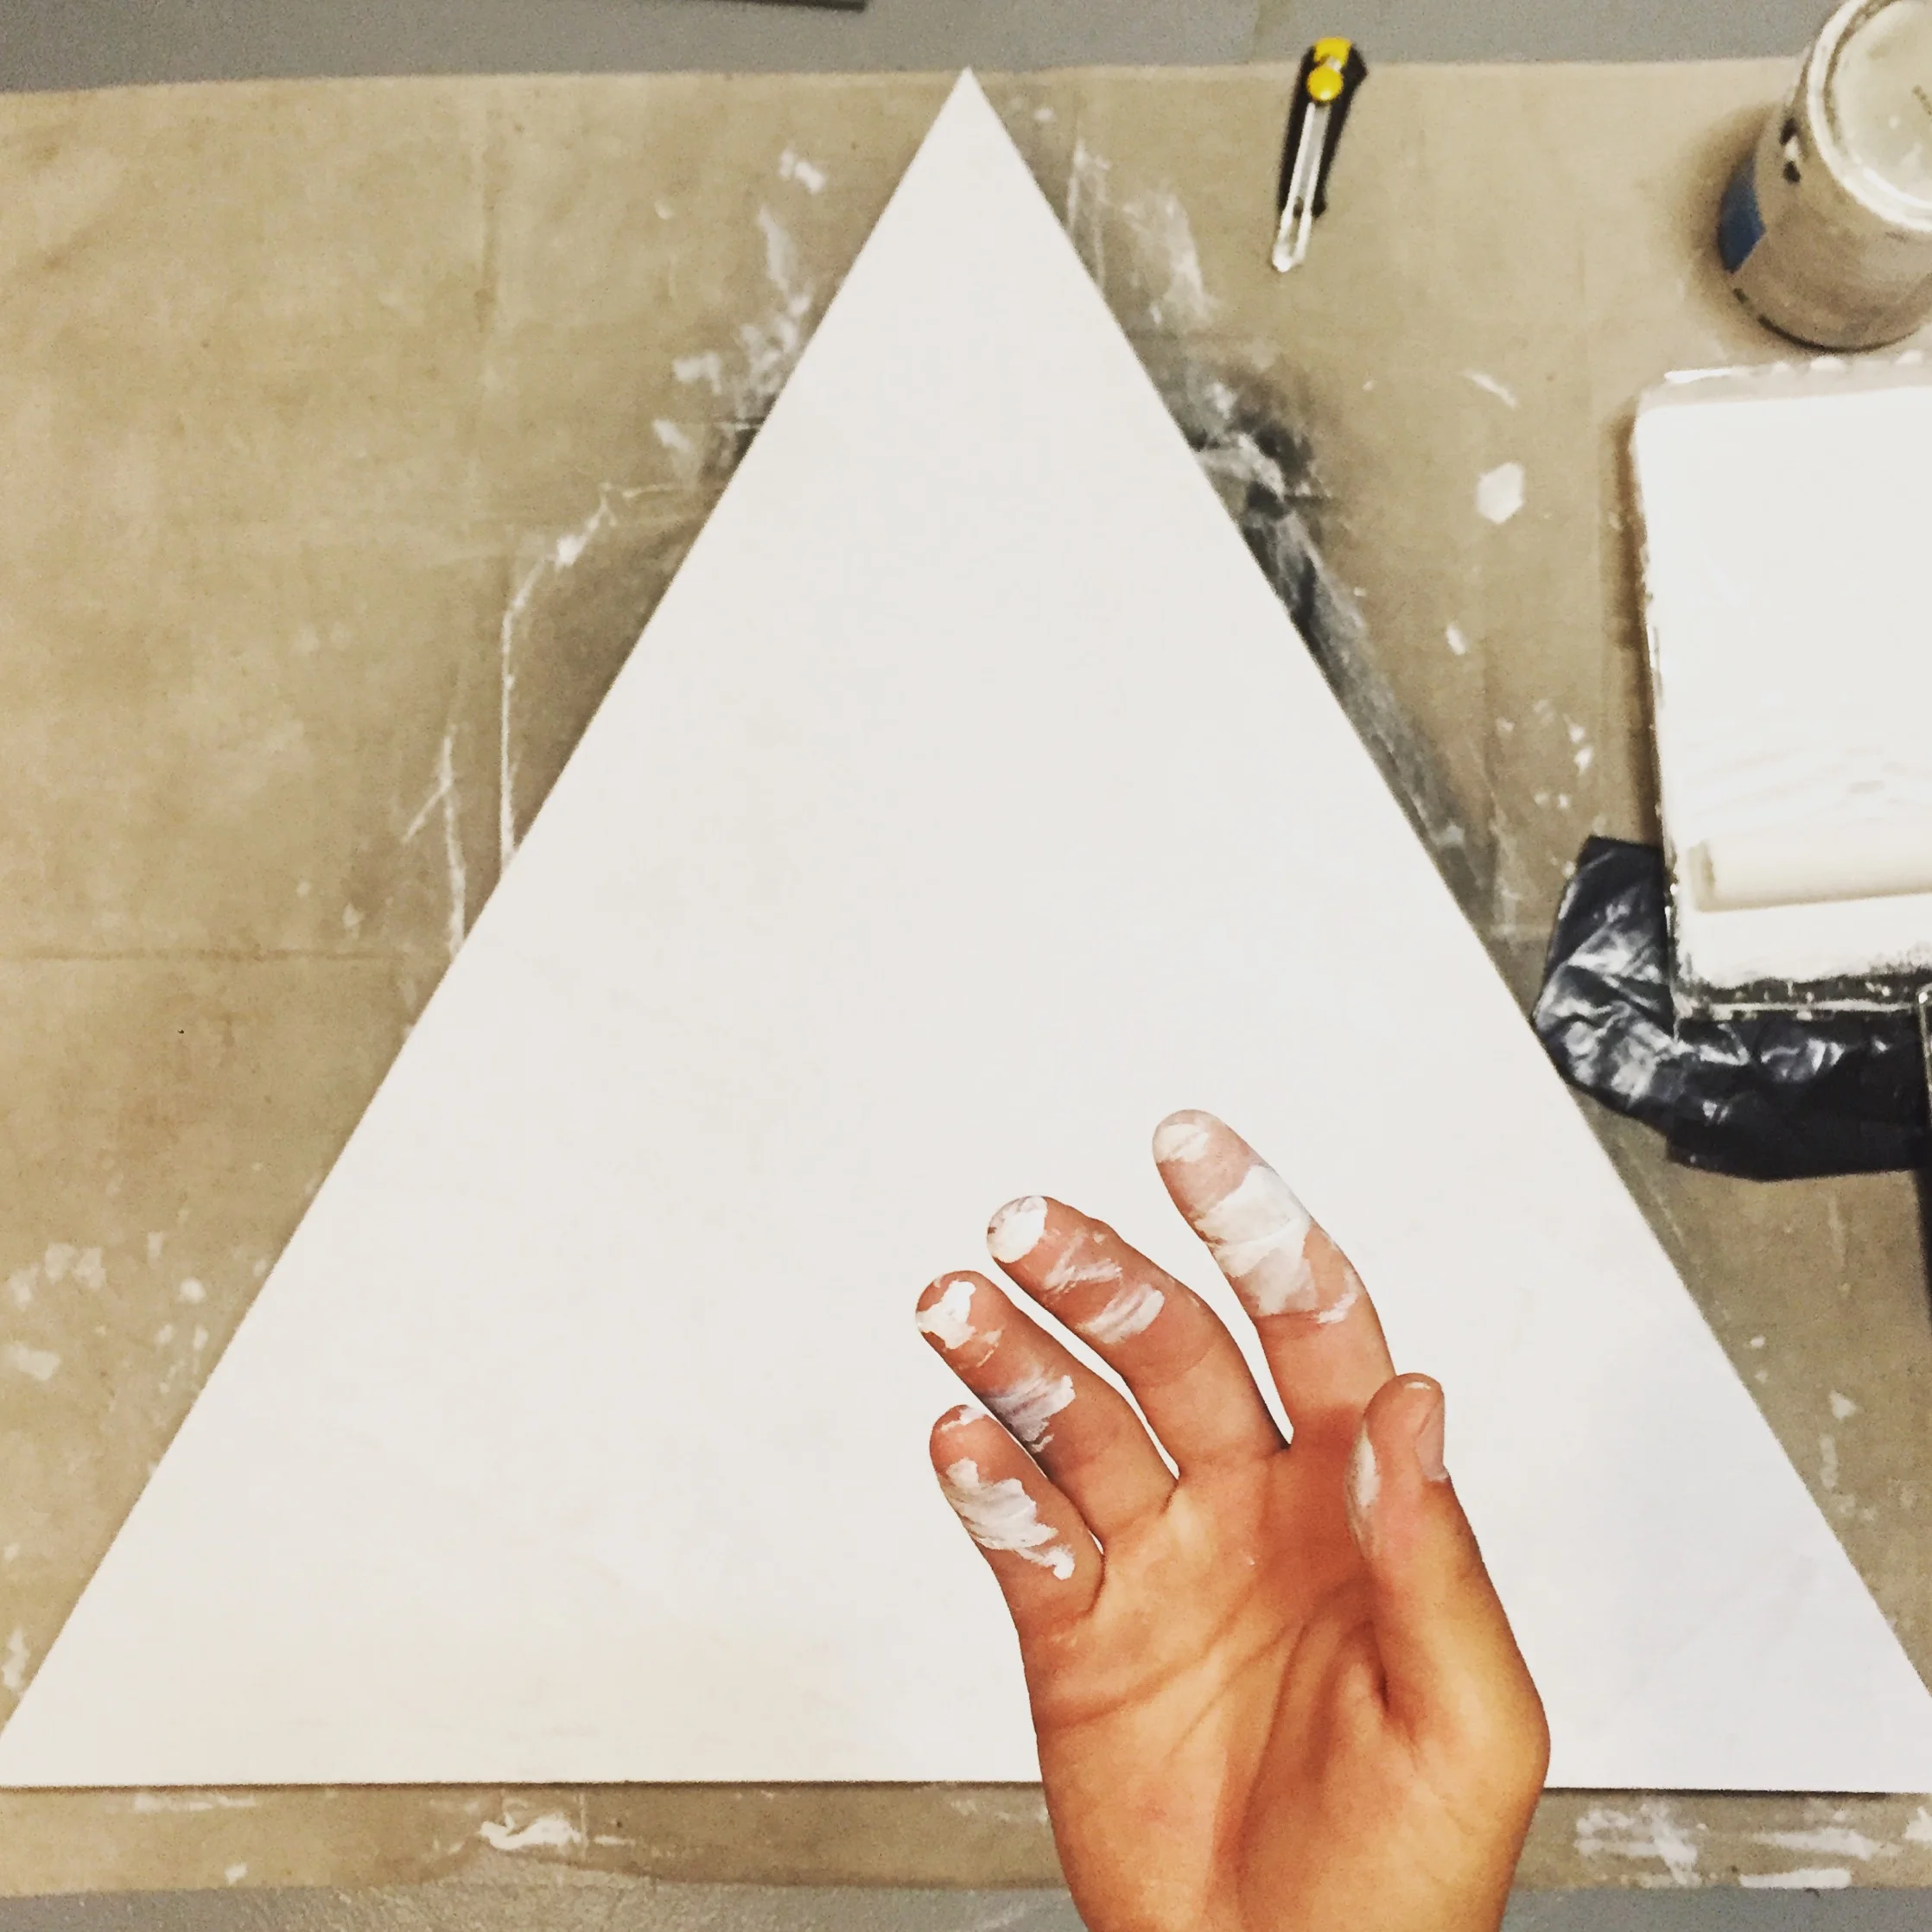
105 panels x 2 coats of paint = plenty of time to watch the paint dry.
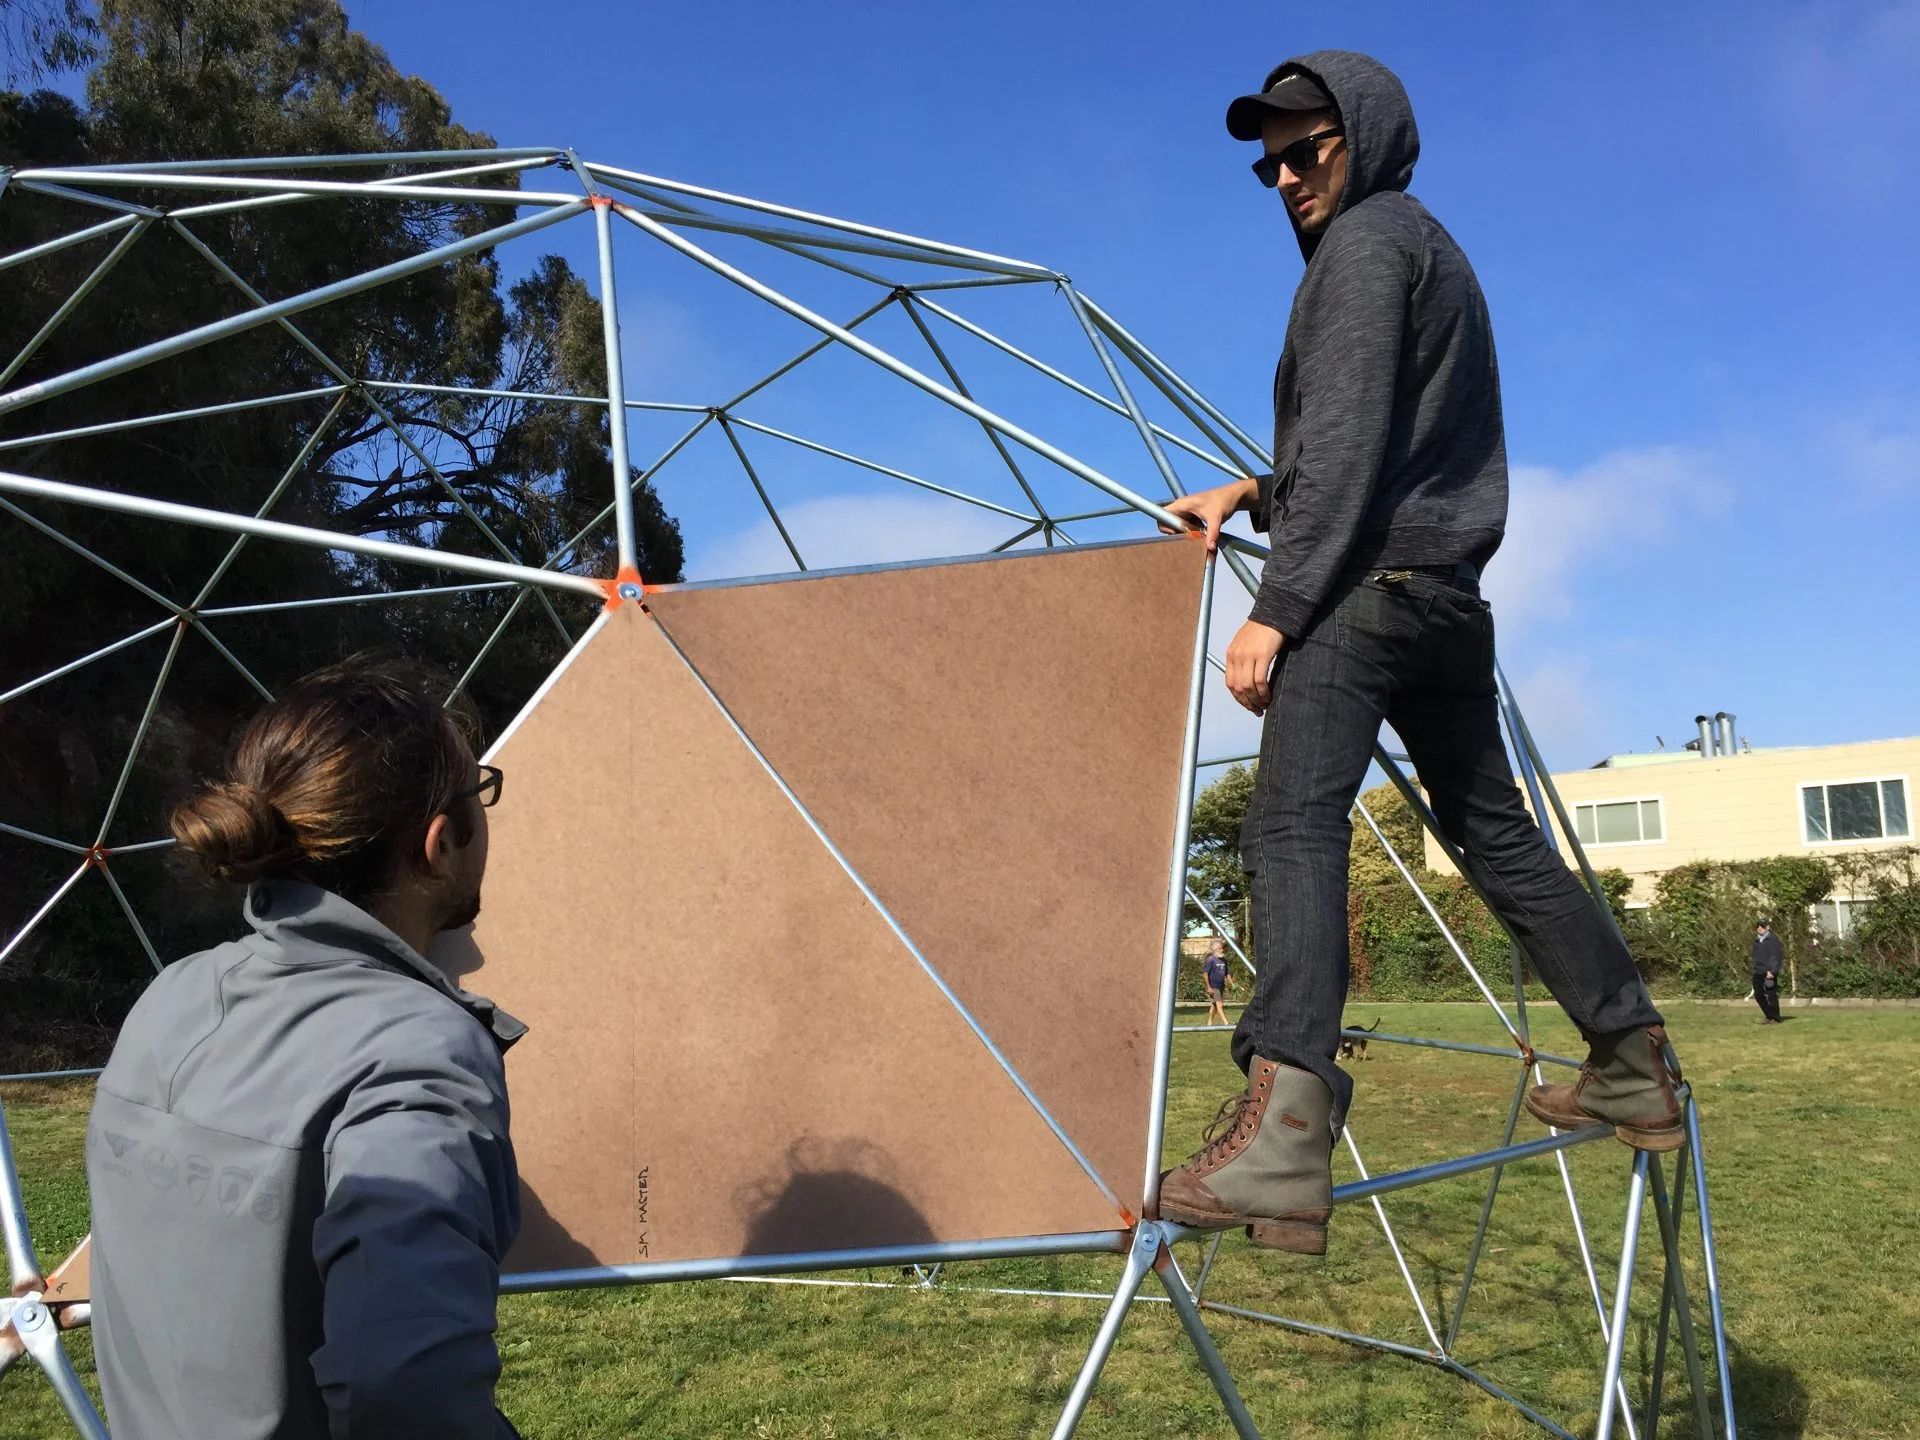
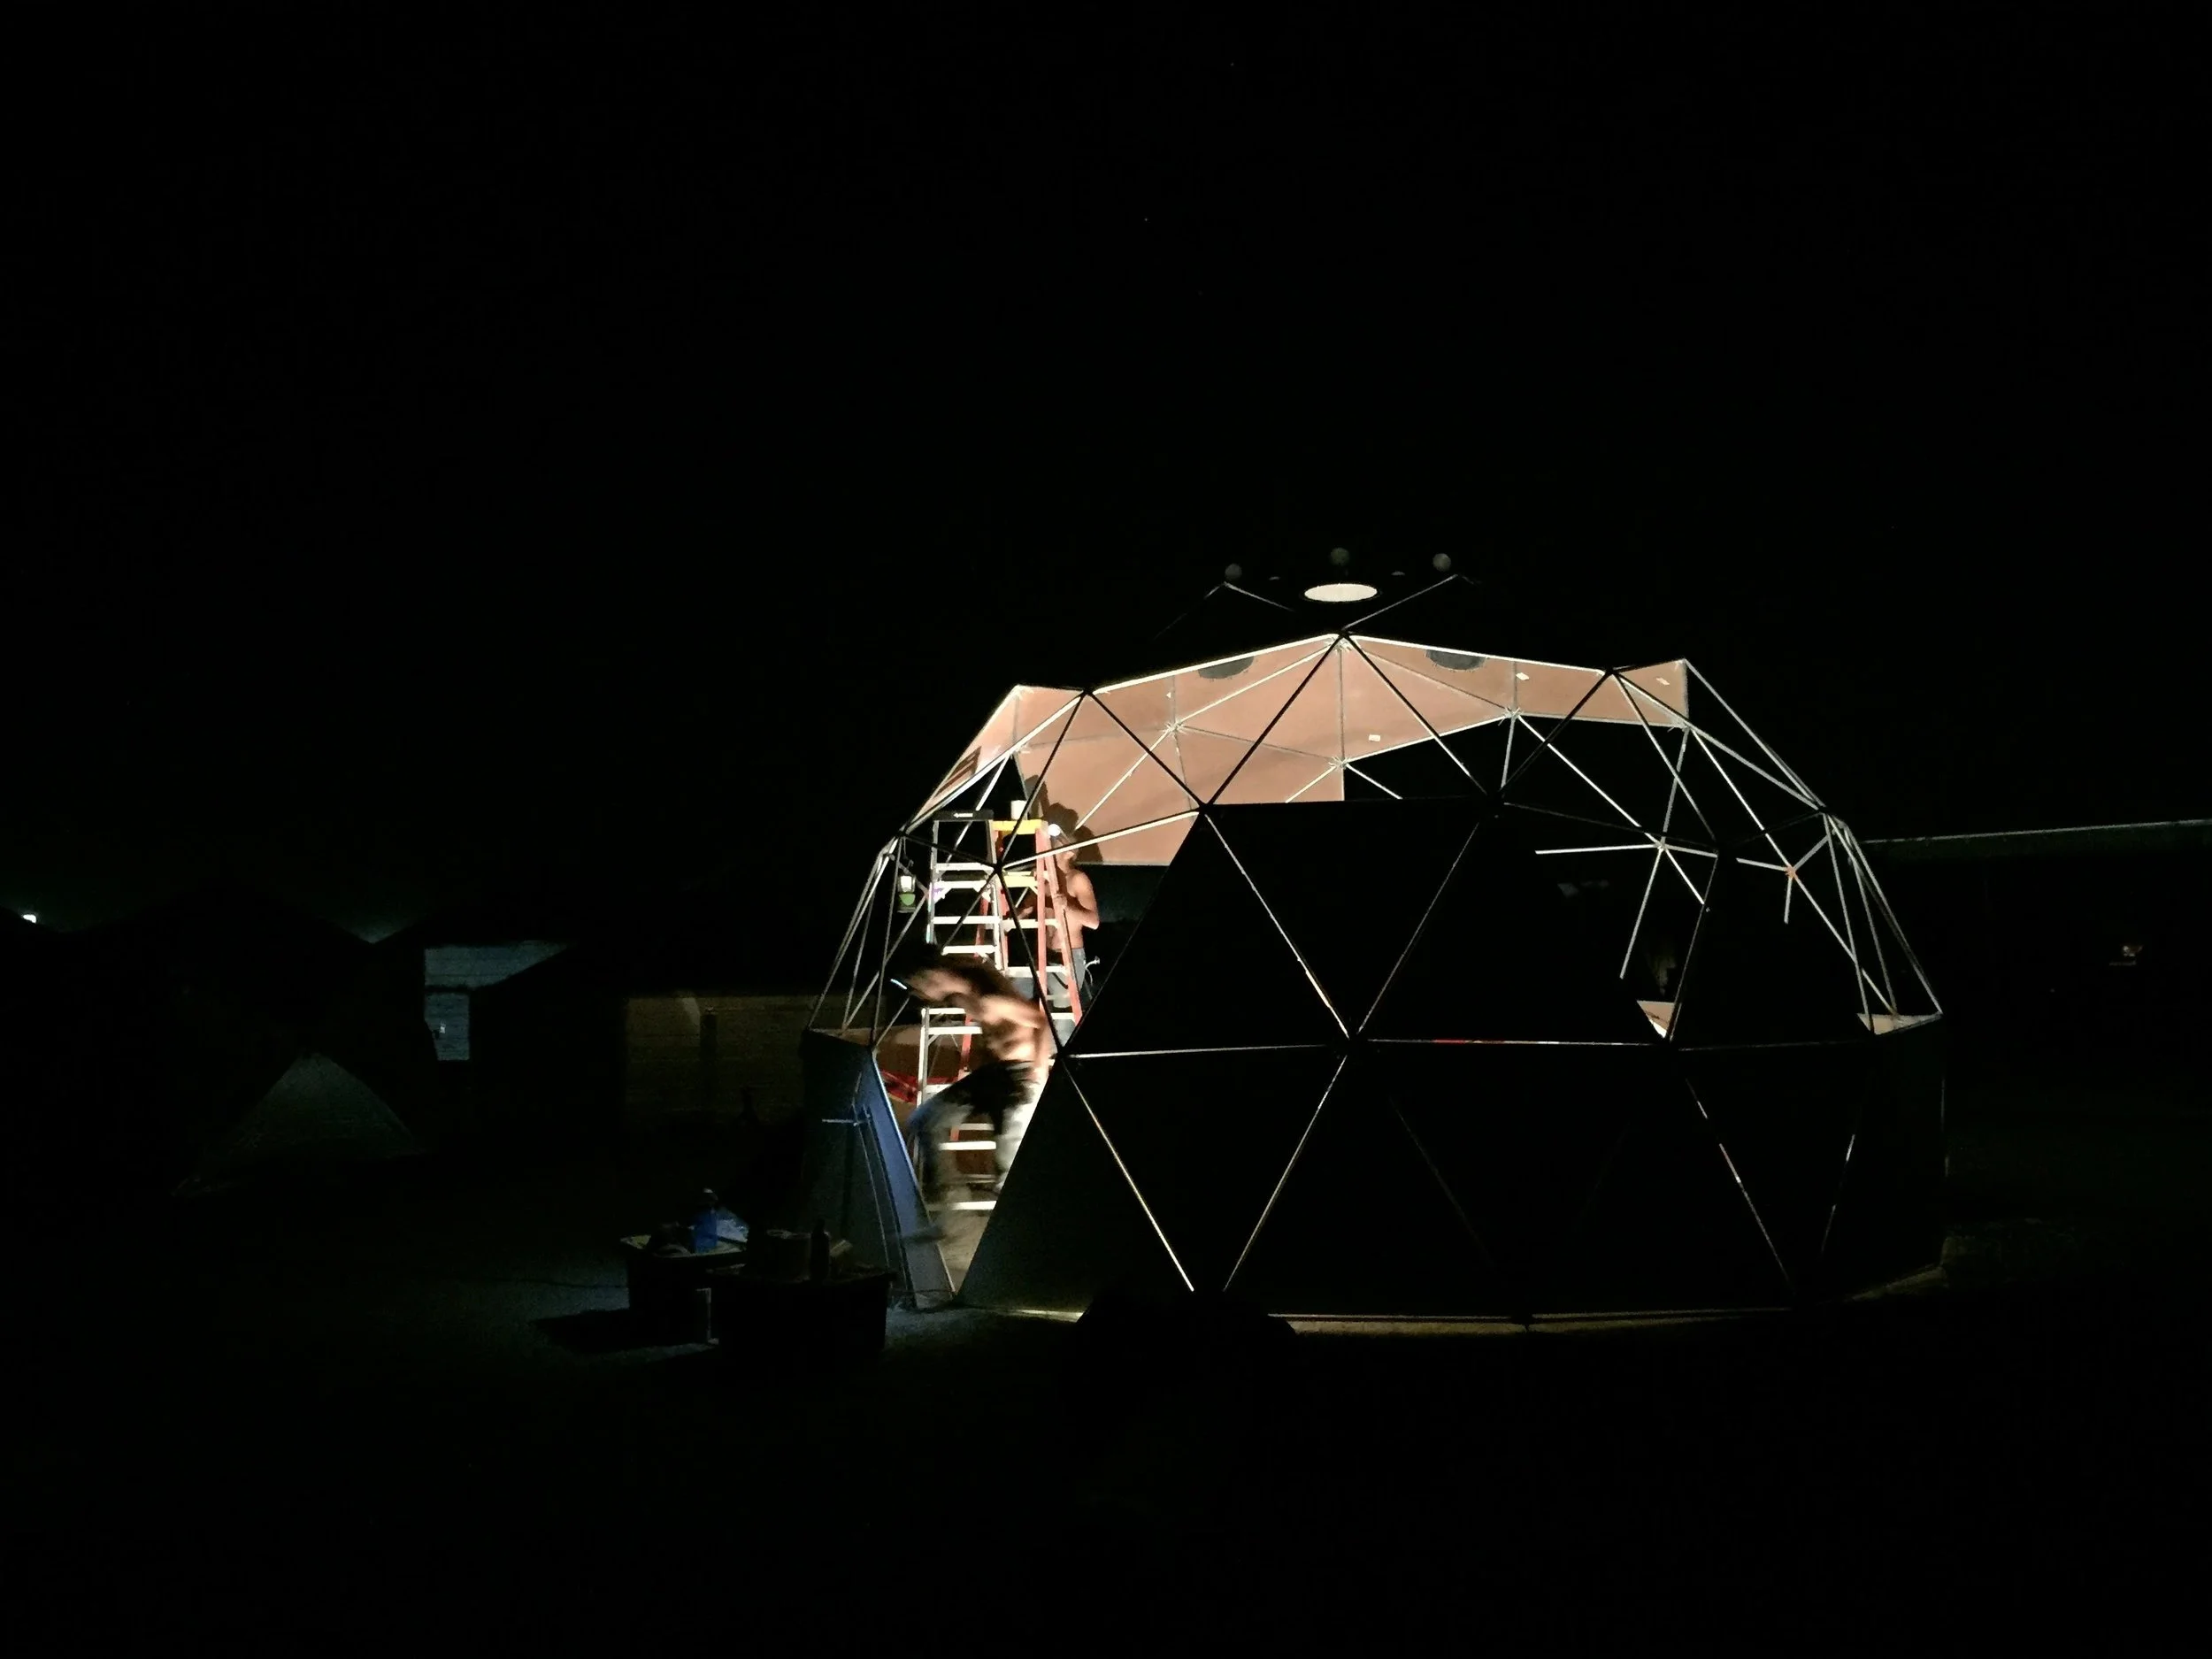
Test fitting the hardboard panels with a partially assembled dome just a few days before we had to pack up.
The challenge was to figure out a way to hold the hardboard panels in place around the frame. Short on time and money, we brainstormed solutions that would use cheap, readily available materials. Another major consideration for us was minimizing assembly time on-playa.
At first we thought maybe industrial strength rubber bands attaching the corners to the hubs would work; however, due to the varying orientations of the triangles, they did not hang they way we had hoped.